September 2023
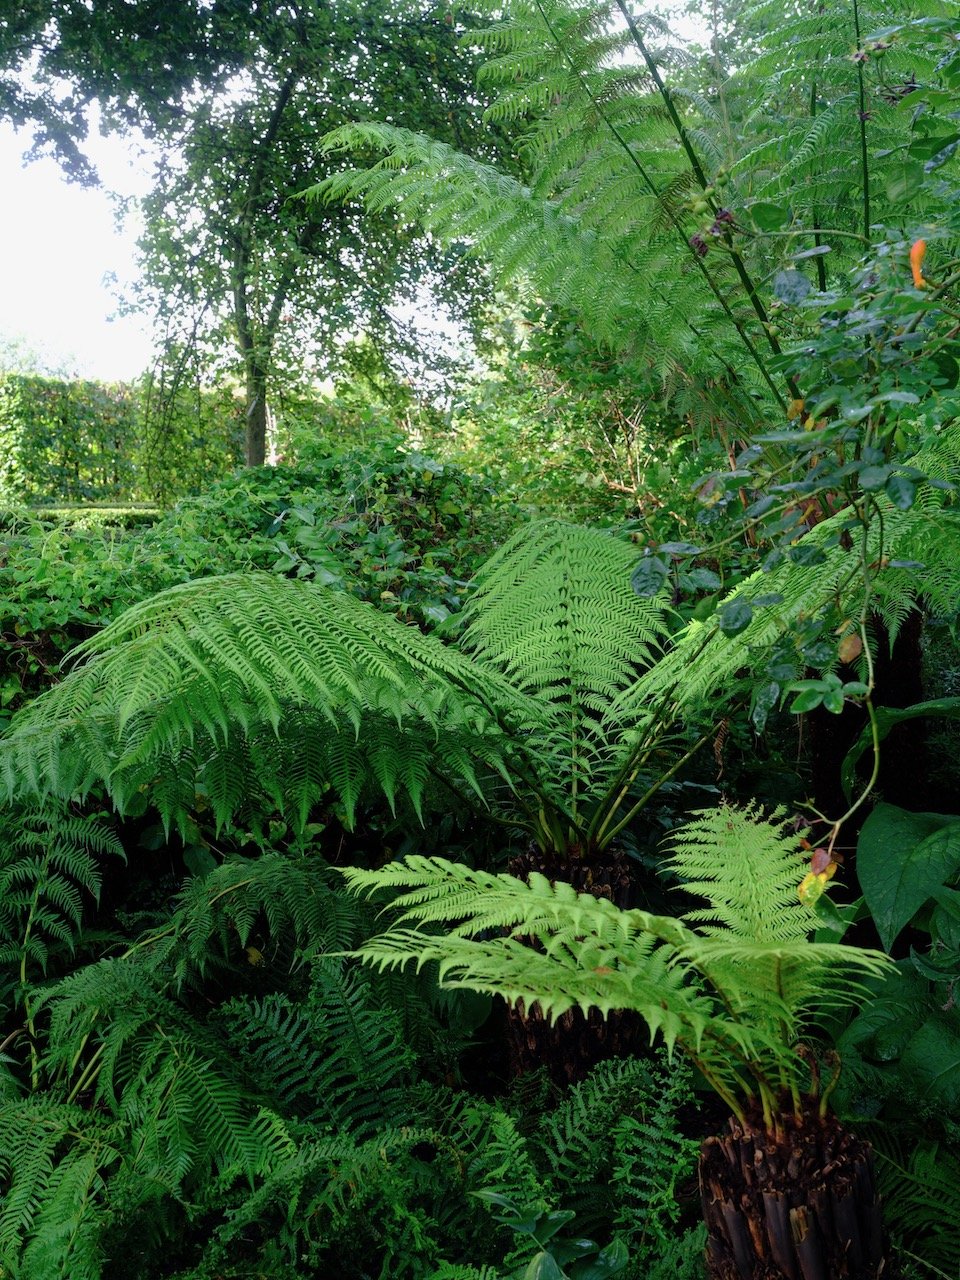
For us, here on the very west of England, September has traditionally been one of the drier months but also one of the gentlest and most beautiful. This is just as well because August '23 was as cold, wet and grey as July had been. All in all it has been a miserable summer.
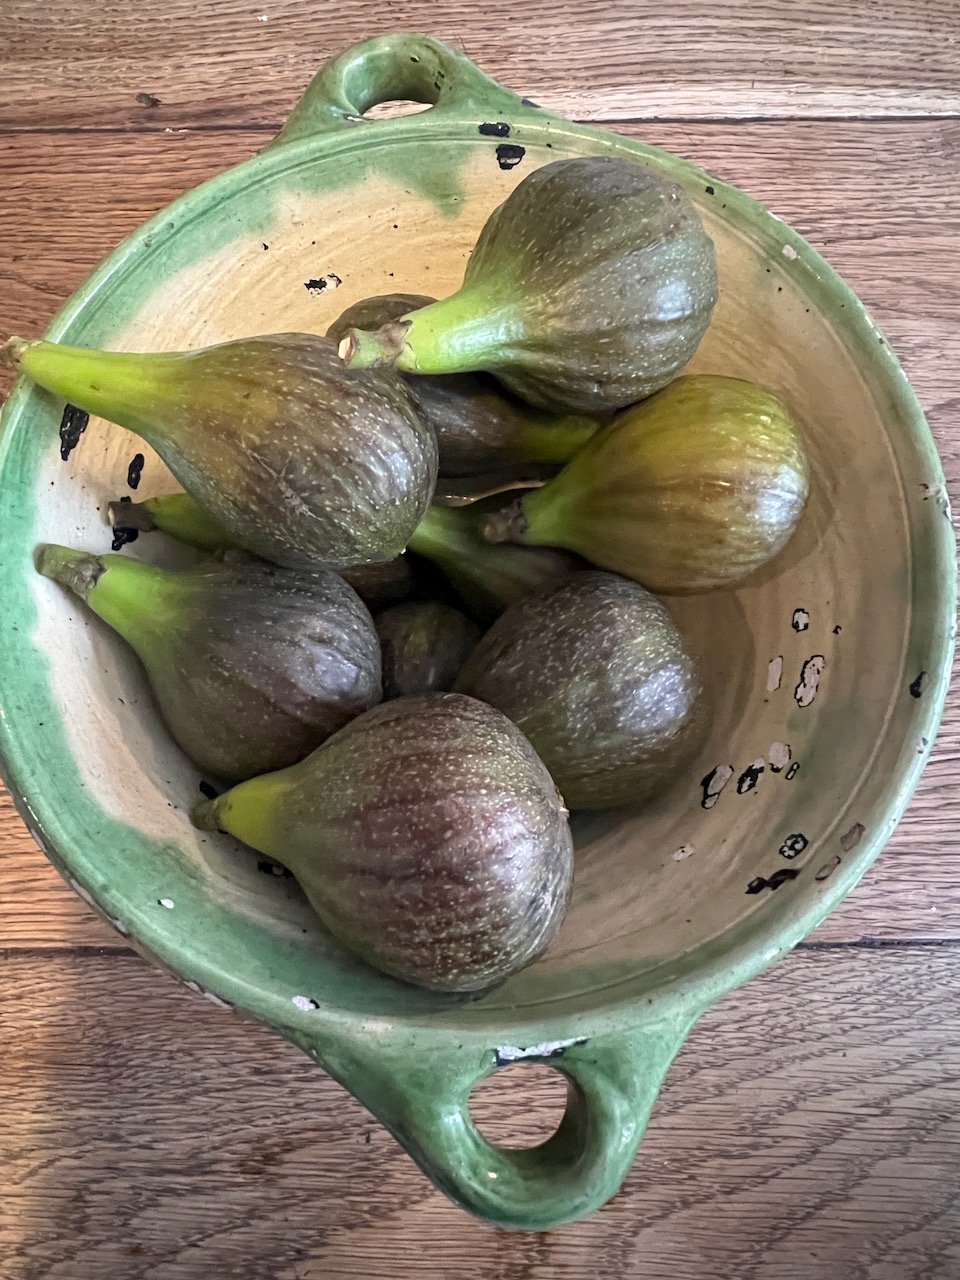
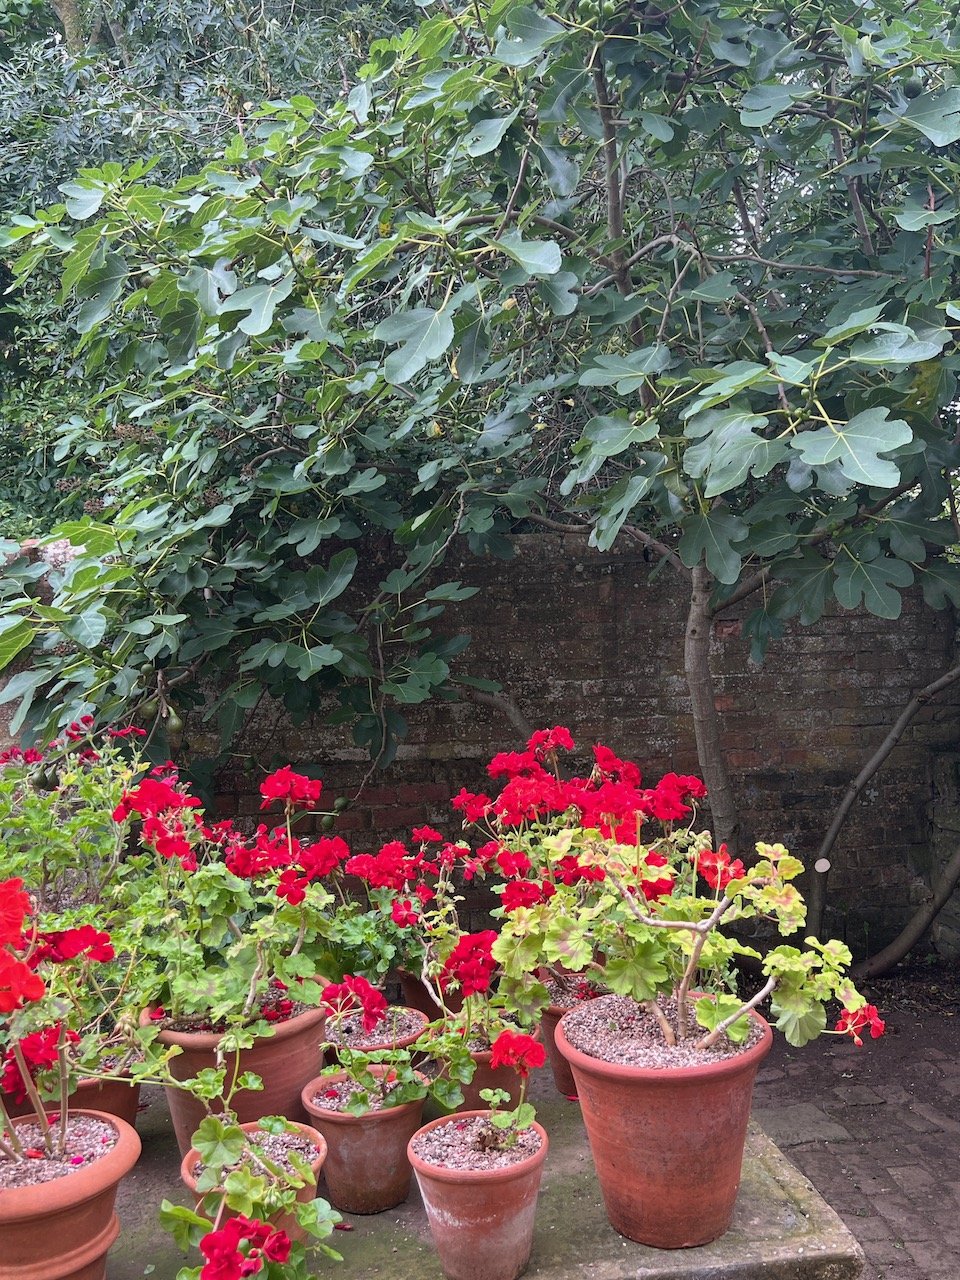
However it is fascinating to see what has thrived despite the conditions. Figs and tomatoes, raspberries and blueberries have been very good. Sunflowers - which hated last summers heat and drought - have been lovely yet tithonias , the Mexican sunflower whose brilliant orange flowers are usually such a feature of our late summer Jewel Garden, have barely flowered at all.
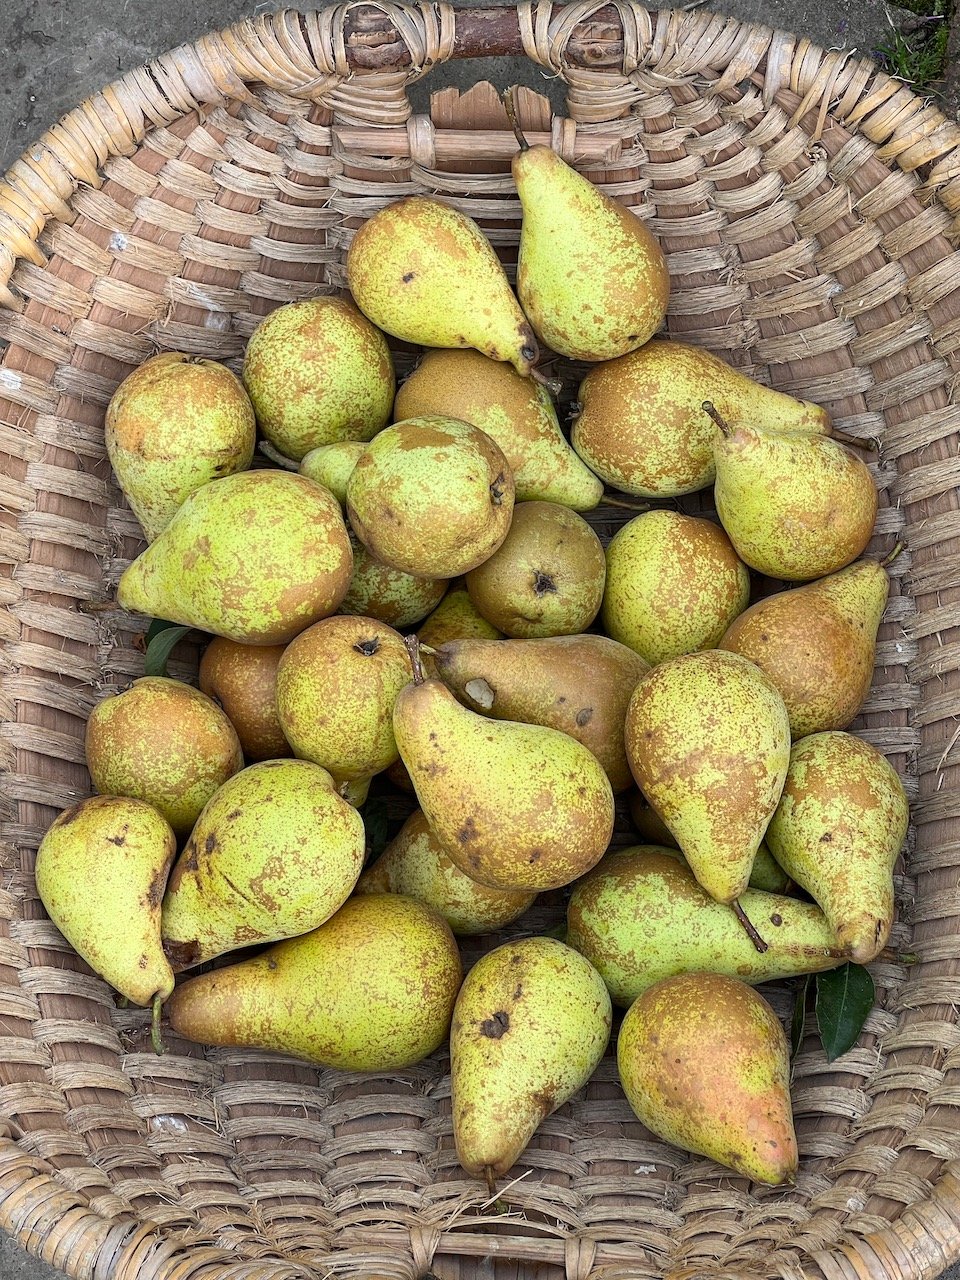
The weather has meant that all fungi have thrived. So box blight is back with a vengeance, potato blight and brown rot, canker and scab are evident on the apples and pears. But September should bring good fungi with mushrooms to harvest in the fields around the garden.
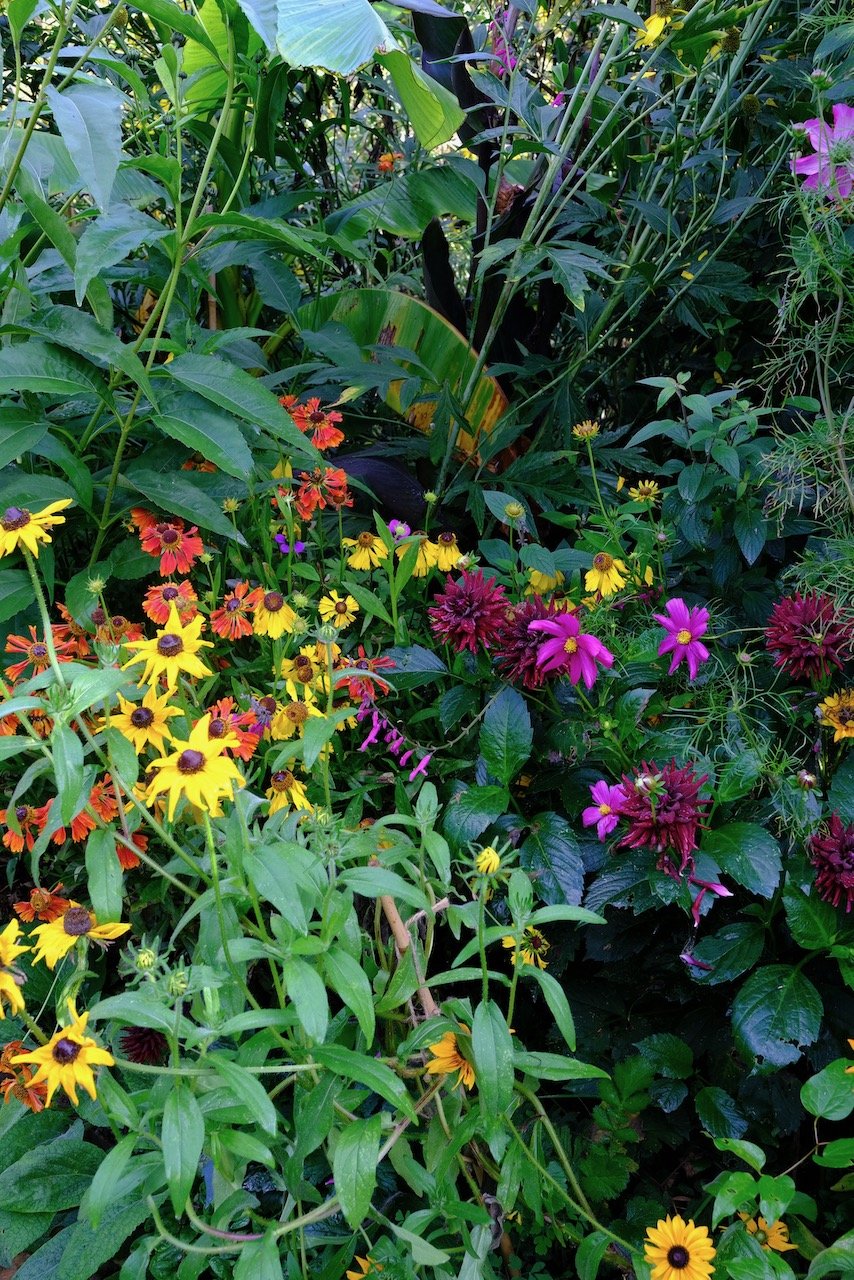
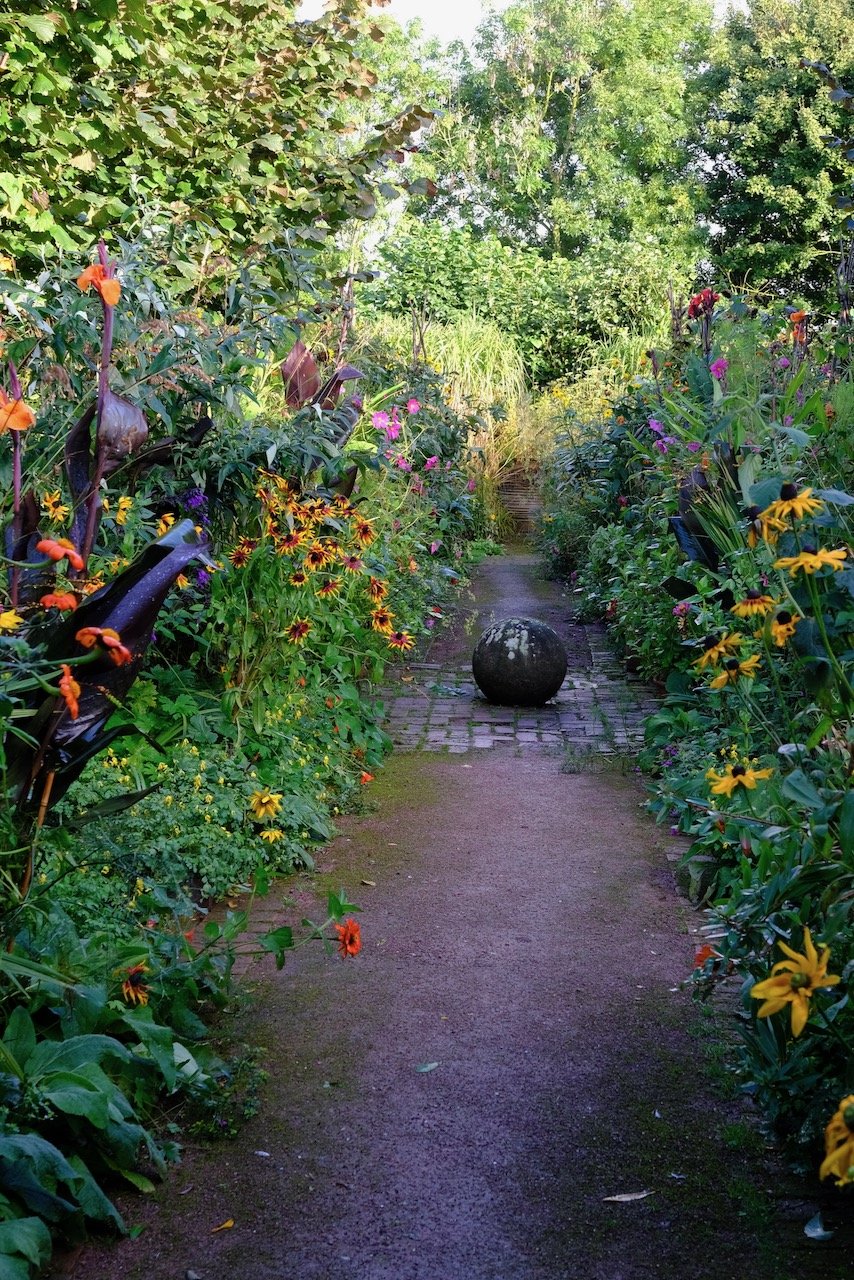
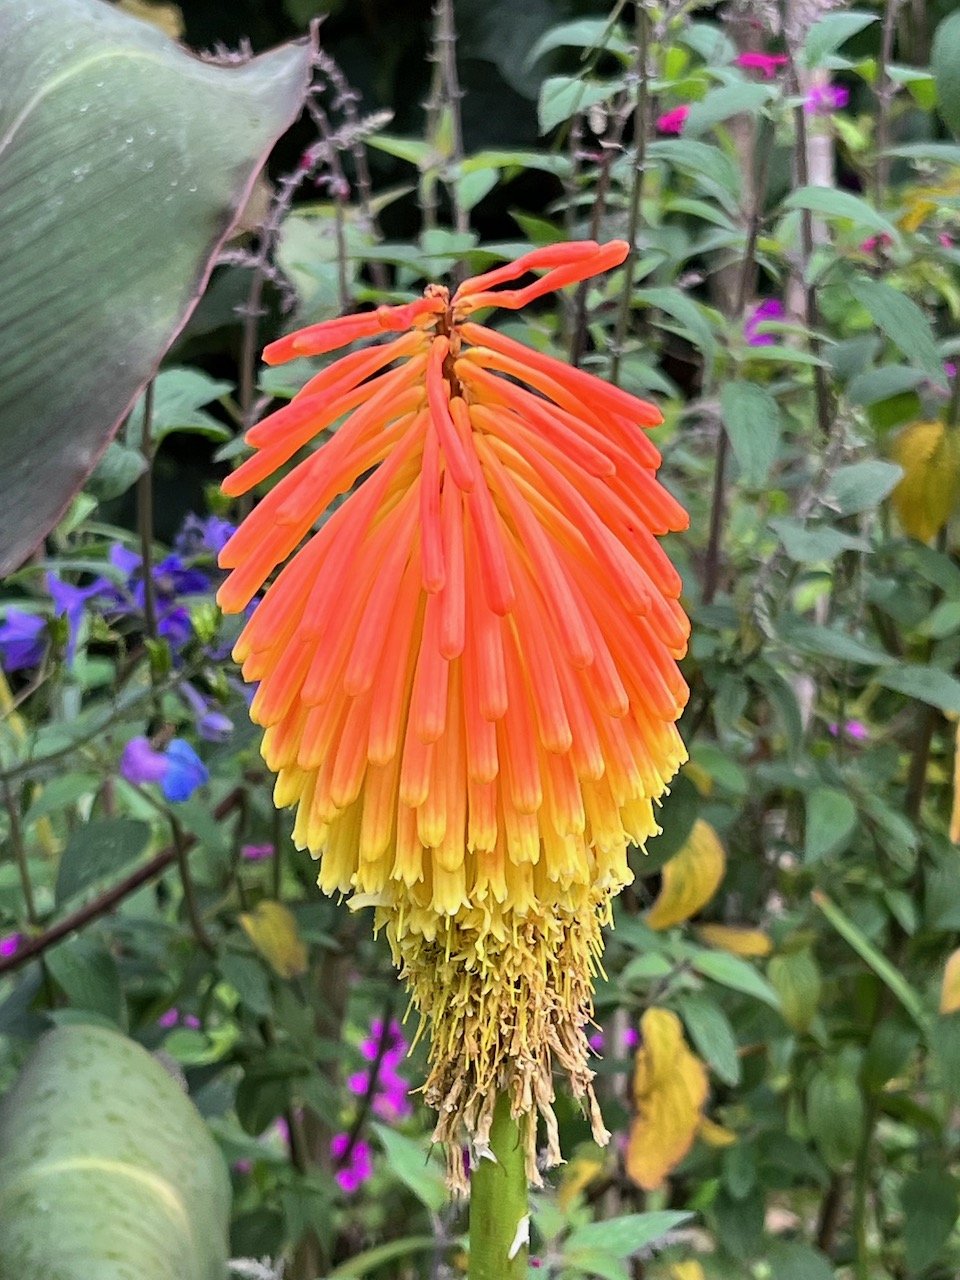
However the Jewel garden in particular can be at its best. Sunflowers, dahlias, cannas, and cosmos fill the borders with splashes of bright, strong colour.
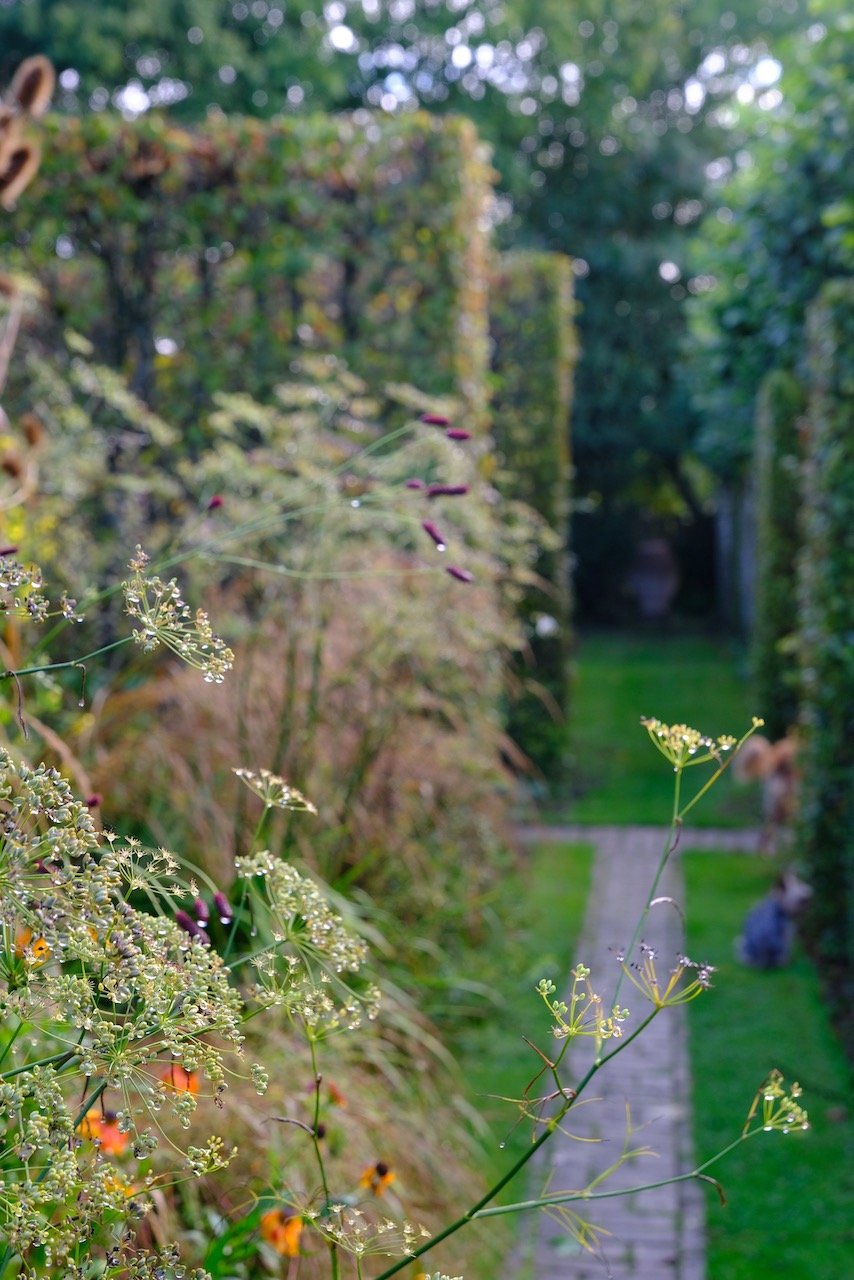
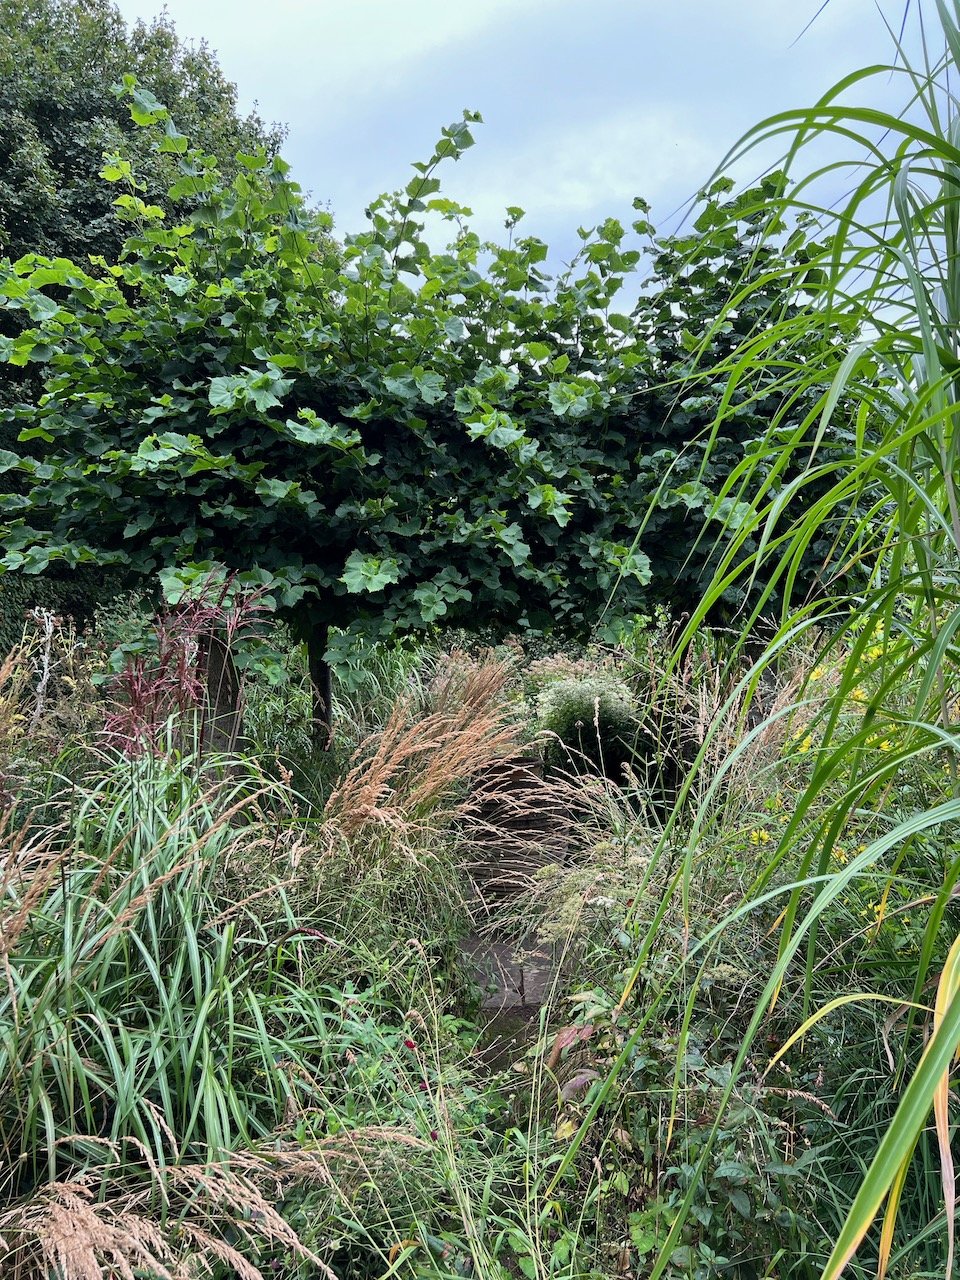
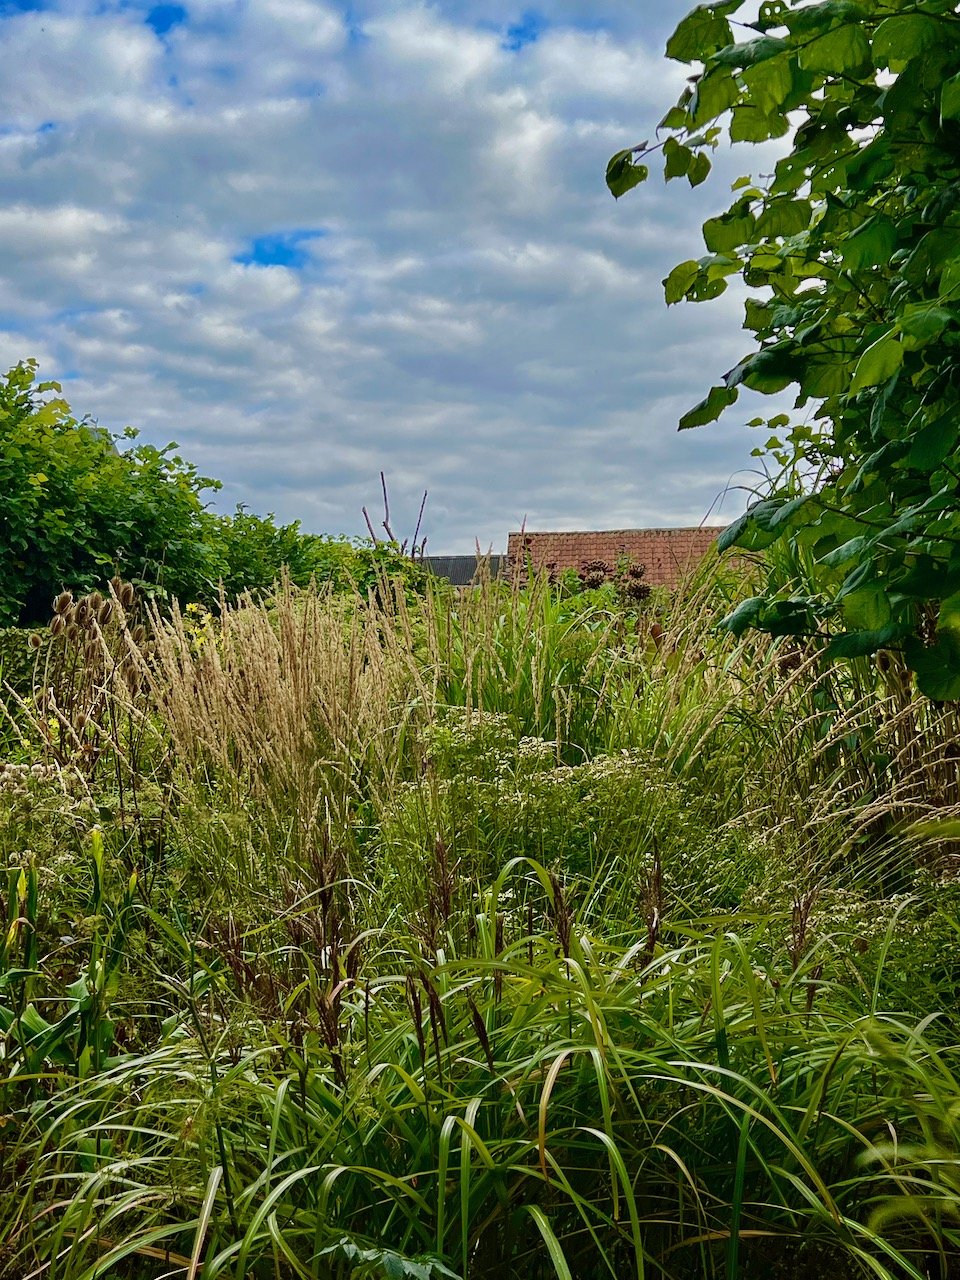
The green foliage of the Grass borders starts to change colour to silvers, golds and bronzes.
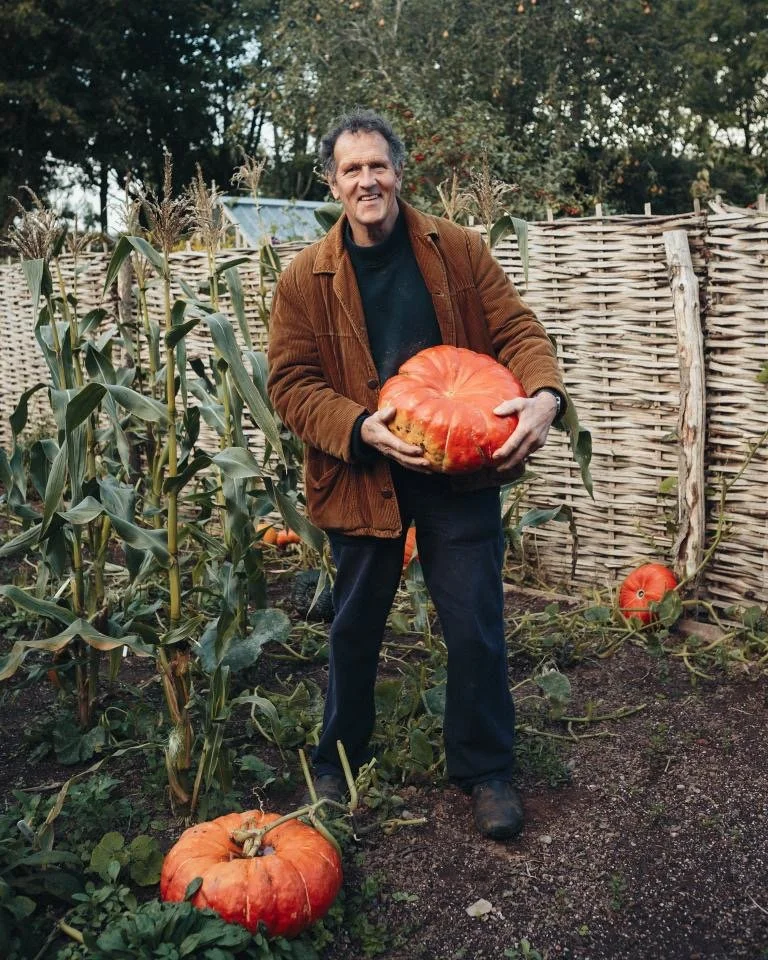
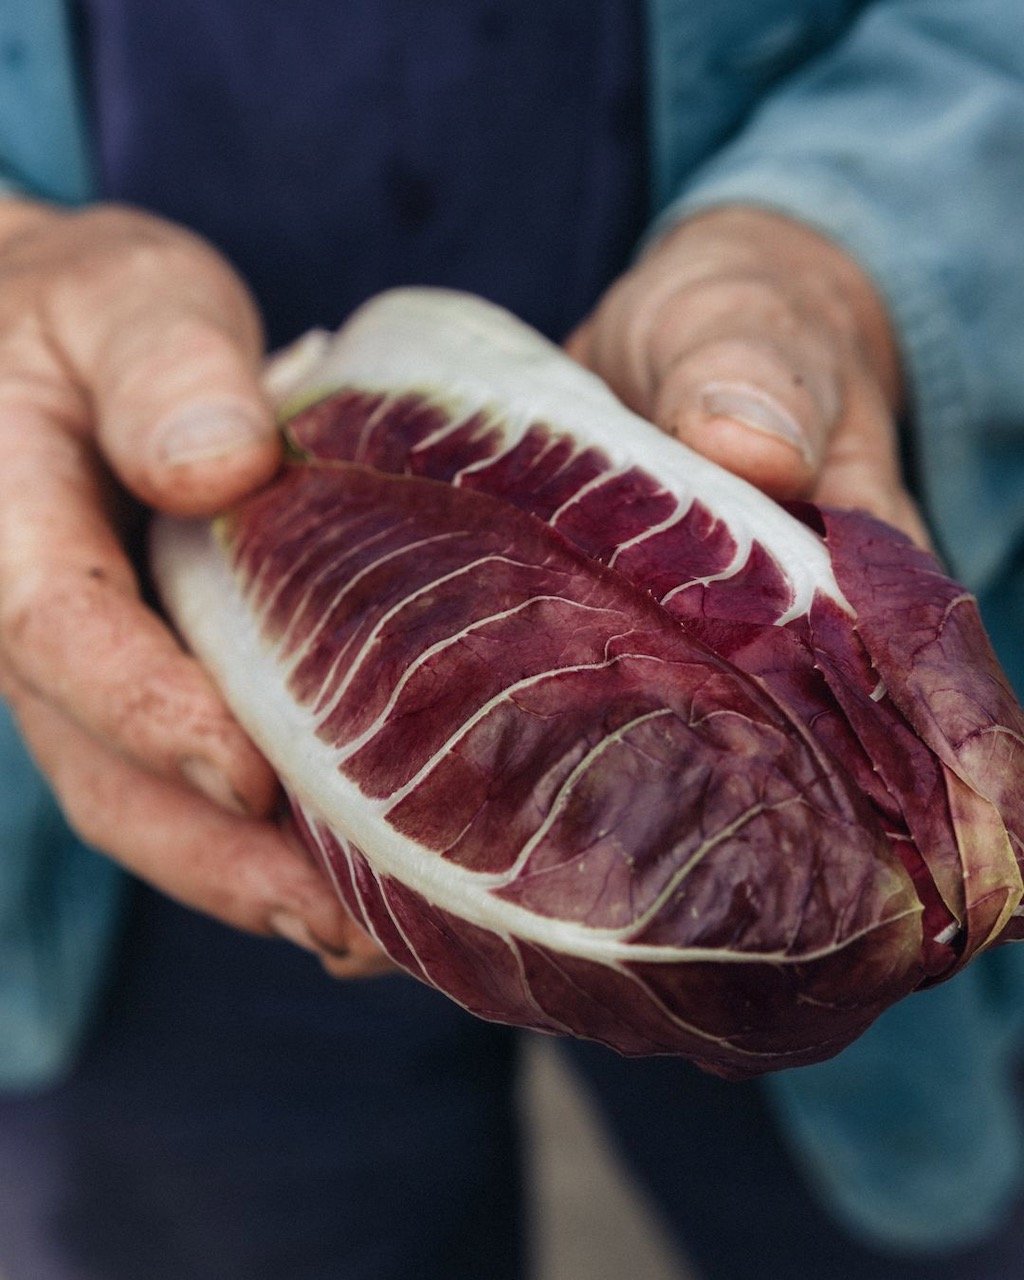
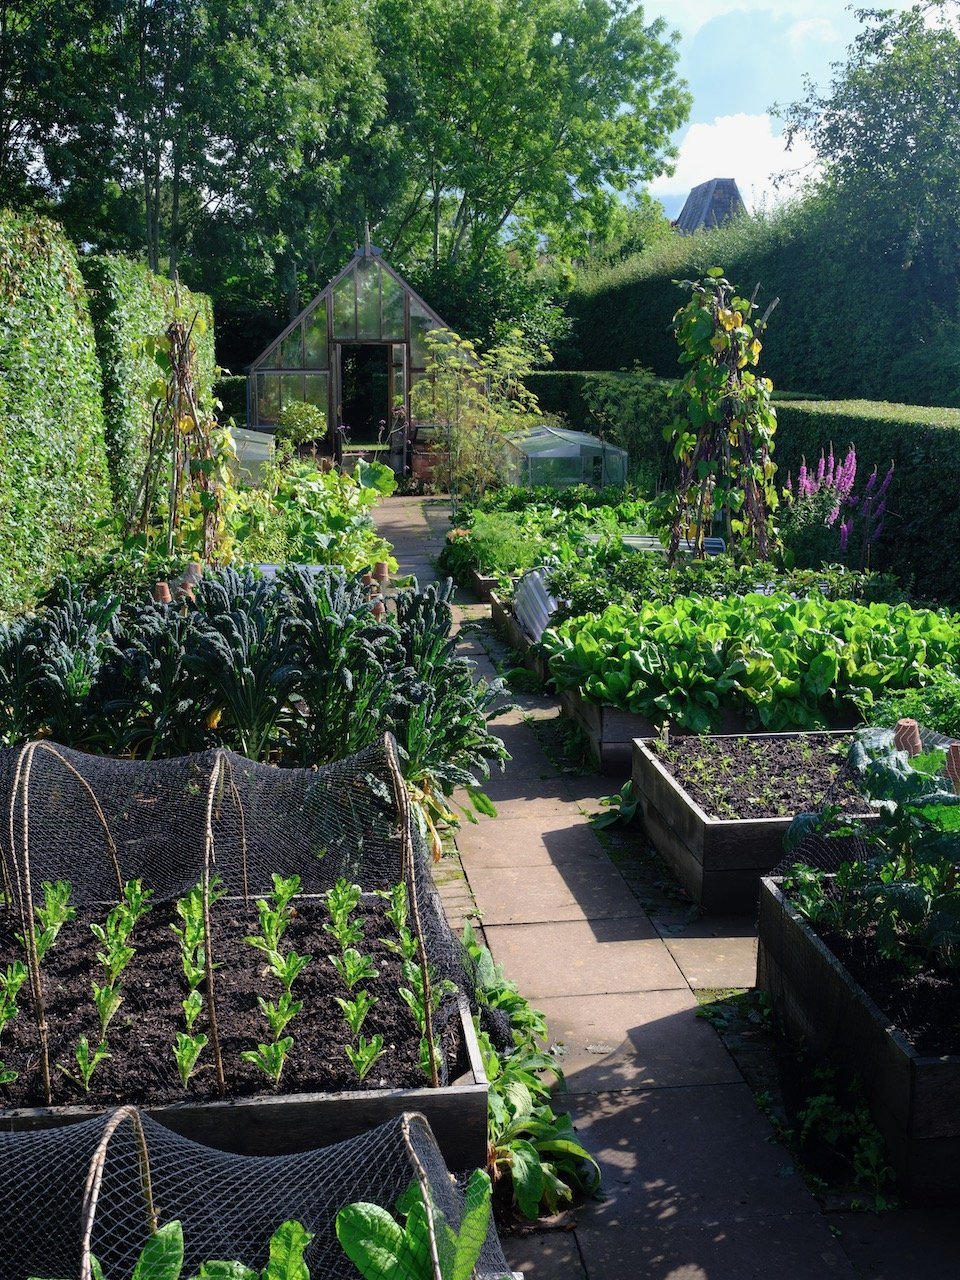
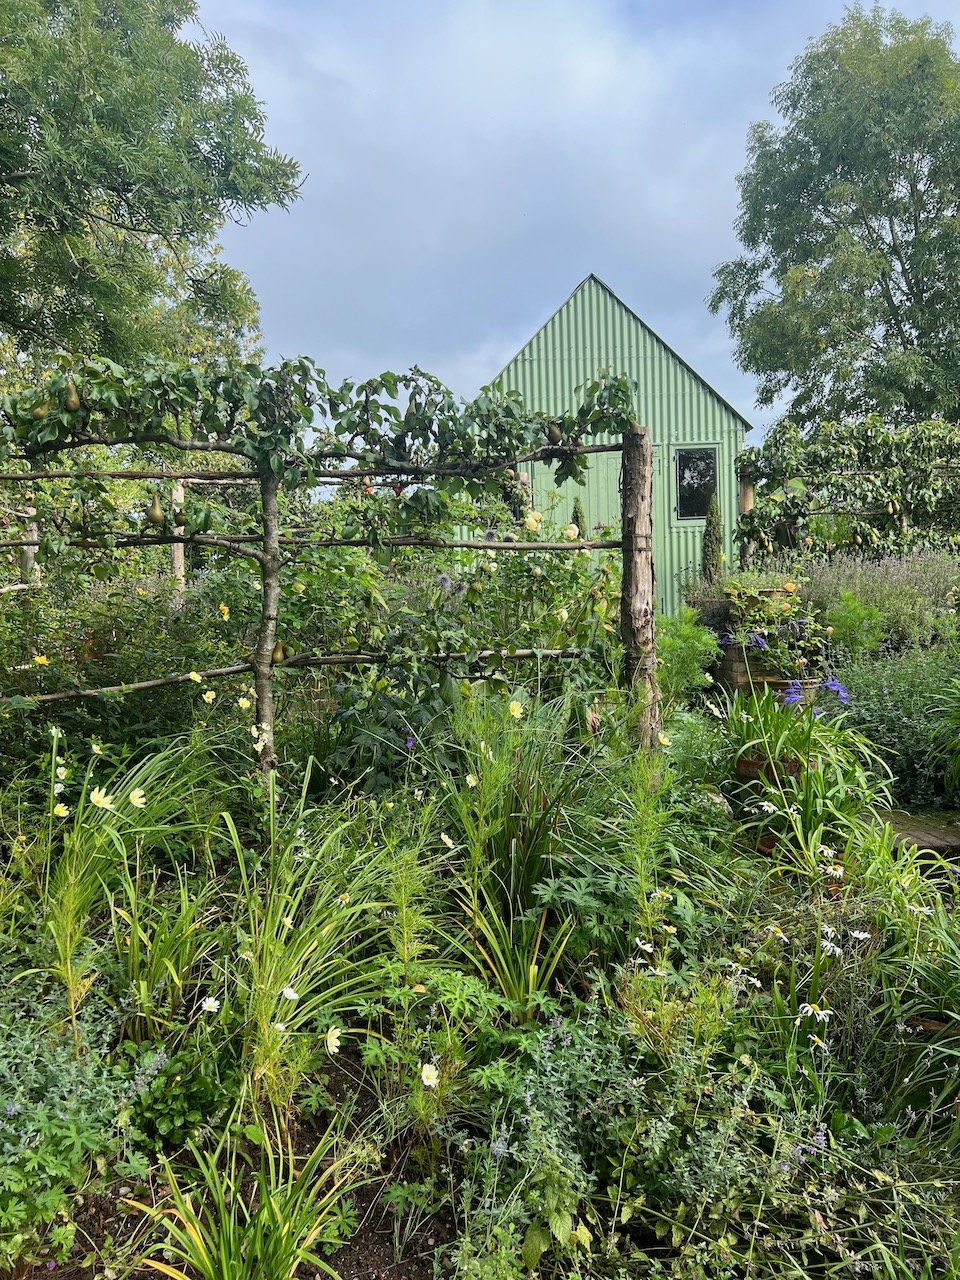
The vegetable garden provides squashes, tomatoes, sweetcorn, chicory, lettuce,French beans and much more, all ready to be gathered for delicious meals fresh from the garden and, where there is excess, prepared for storage for winter consumption.
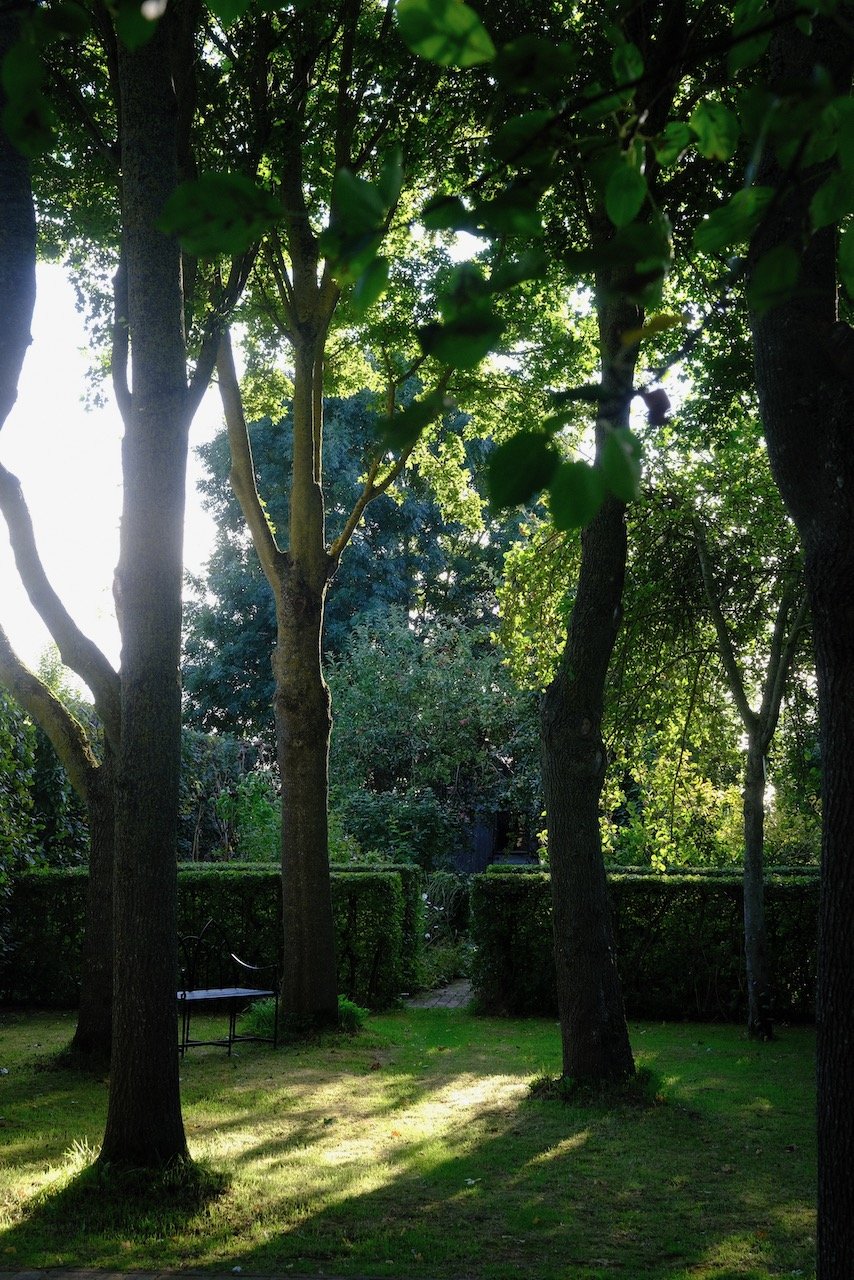
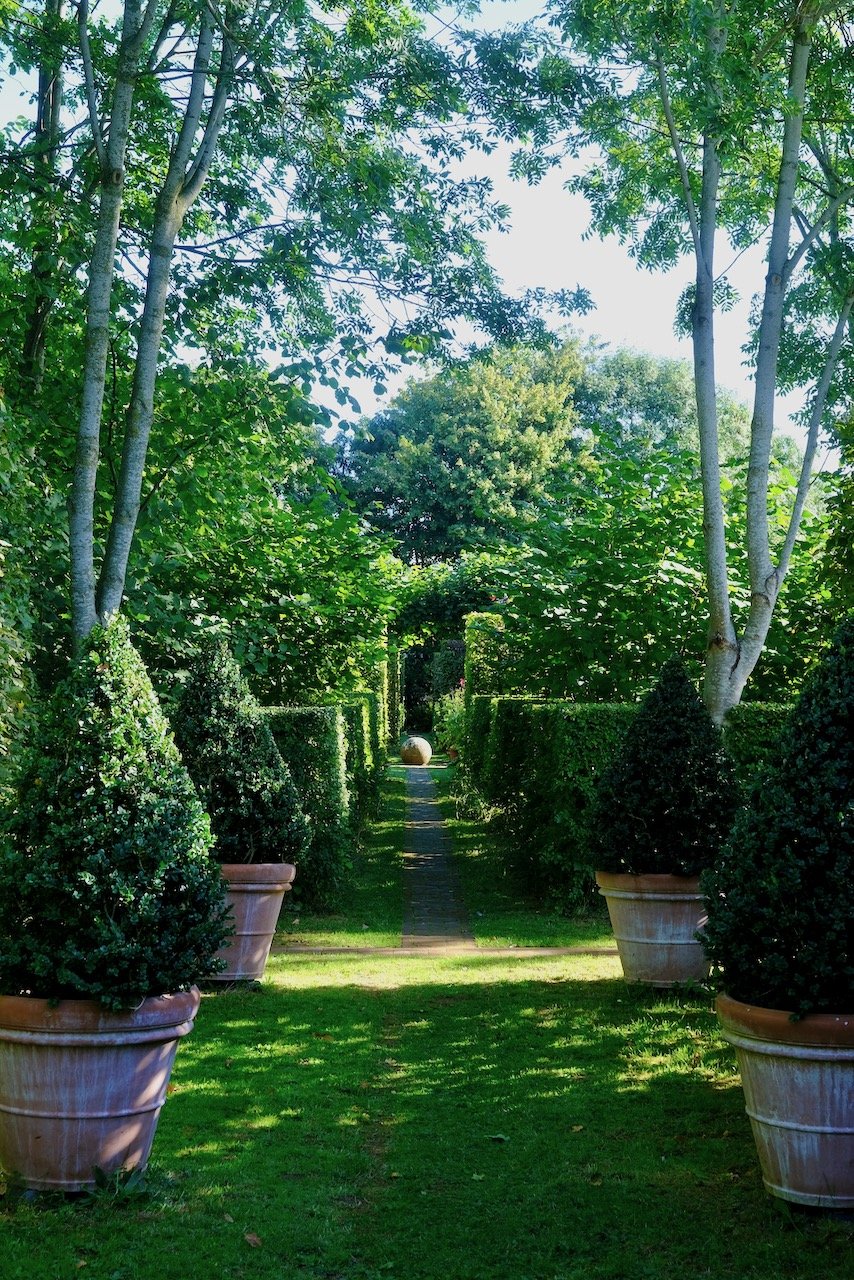
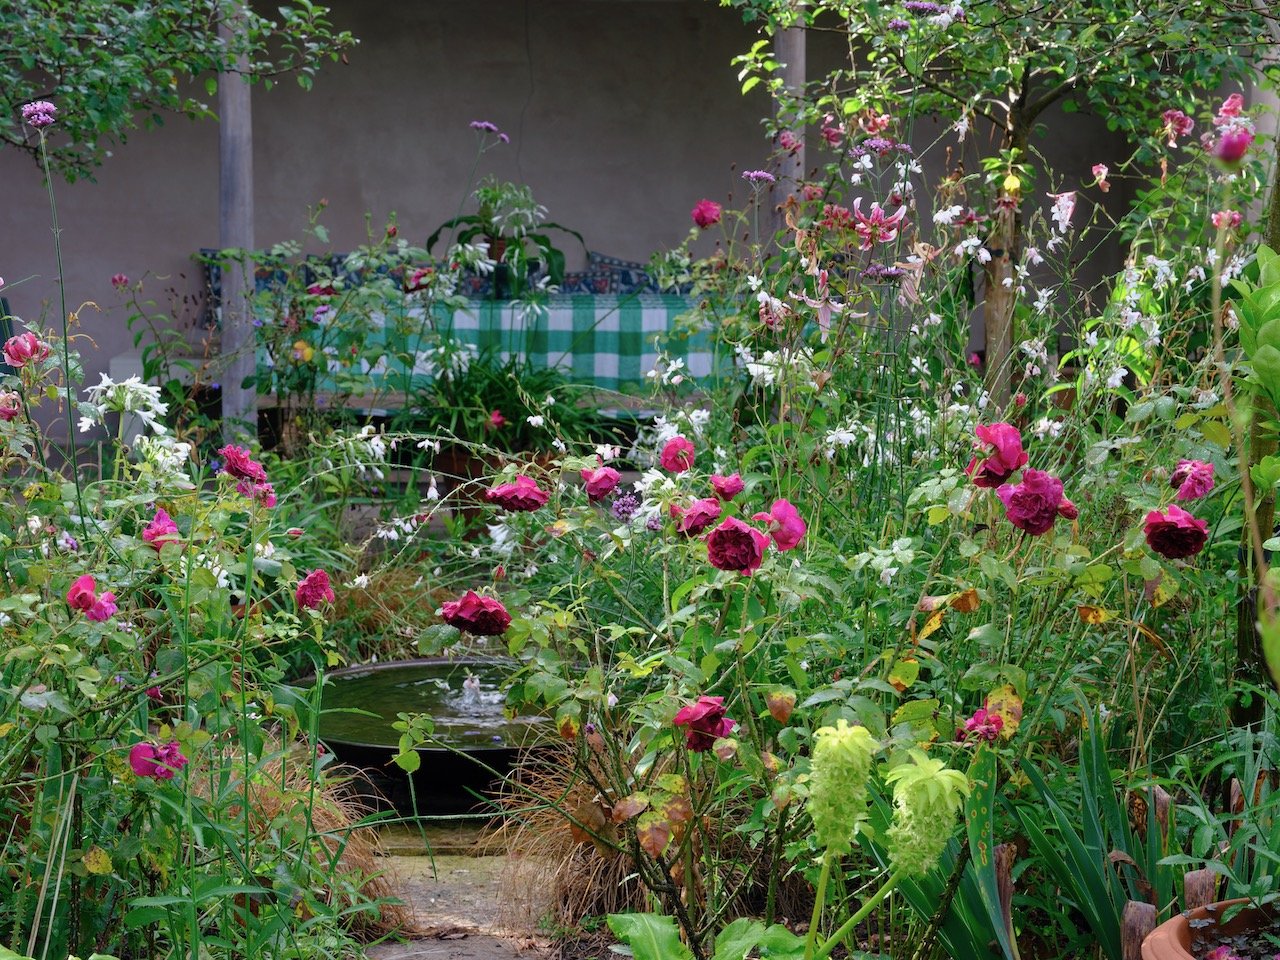
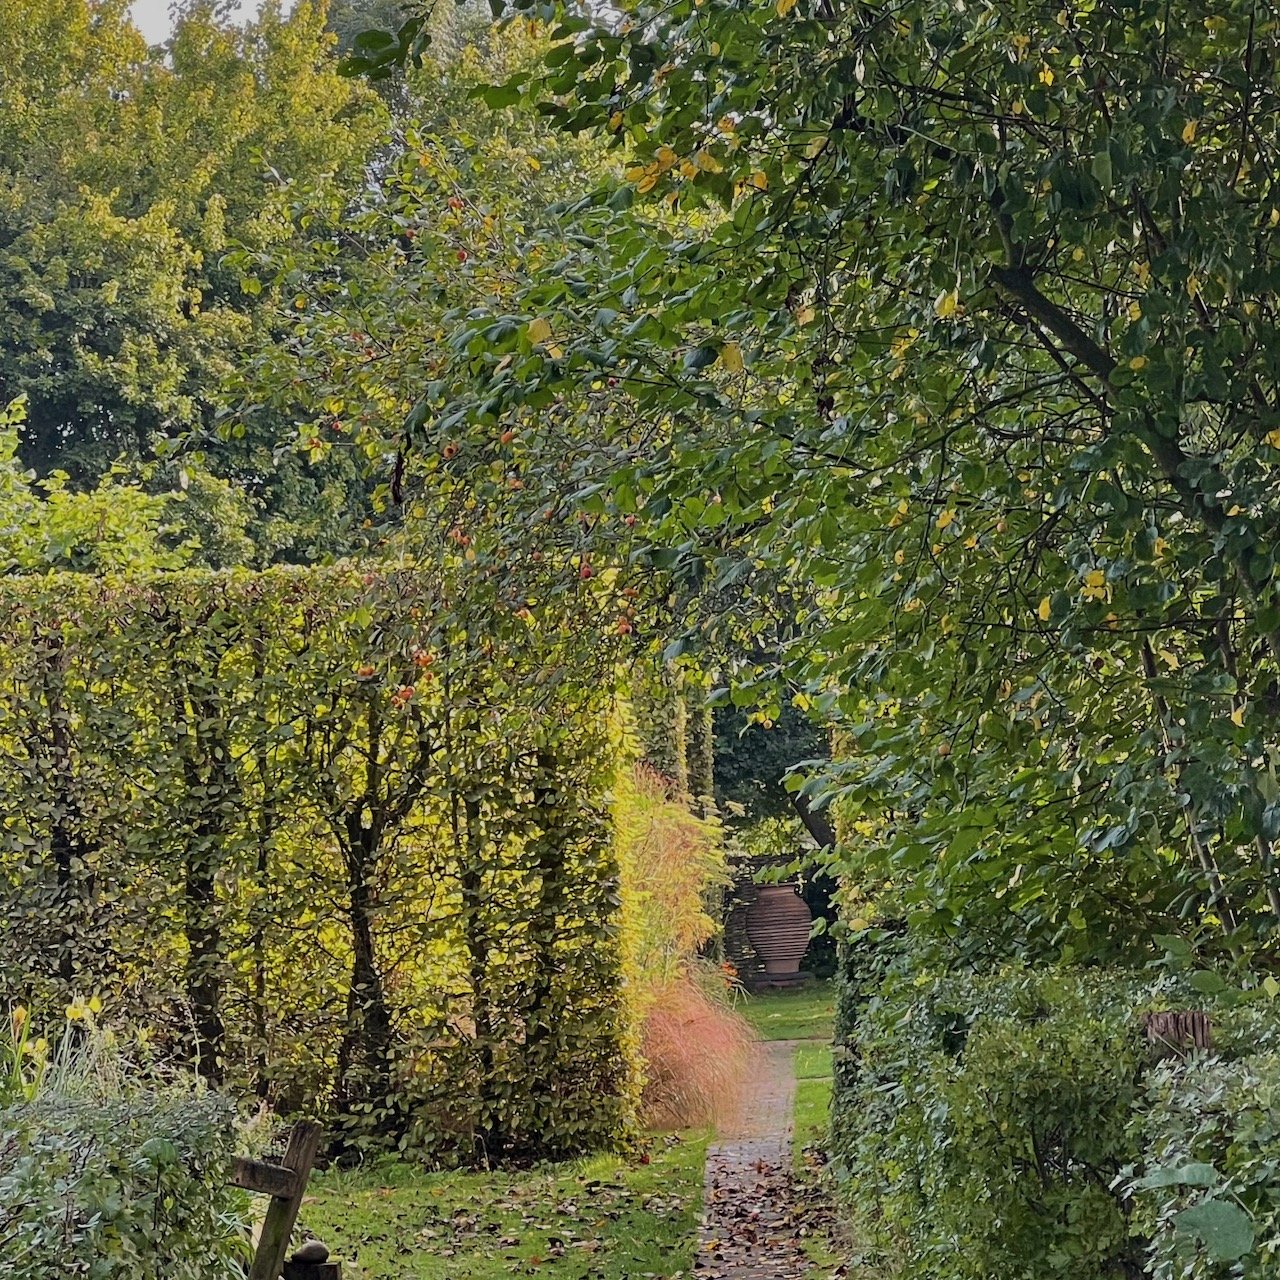
However the main feature of my September garden is the light.
As the month progresses the sun noticeably drops in the sky, slanting at an angle that, for a few weeks, creates the best and most seductive light of the year, as though the colours and light were being gently stretched and drifts through the yellowing leaves like smoke.
It is not just the quality of light but also the quantity that is fading. At the start of September it gets dark around 8.45 but by the end of the month all light has left the evening sky by 7.30 and the year has flipped from Summer to Autumn.
JOBS
As always in the garden, many jobs roll over from month to month, be it weeding, deadheading or mowing the grass. Above all continue to deadhead daily, cutting back spent blooms to the next leaf - even if that means taking off quite a long length of stem.
Carry on collecting seeds as they ripen - and before they disperse - and once really dry, store them in a jar or paper envelope (NOT a plastic bag) in the fridge until you are ready to use them.
PLANT BULBS IN POTS
Spring bulbs are now on sale but the ground is often much too hard to plant them in grass at this stage of the year, so I always begin by planting some bulbs in pots.
I start with crocus, daffodils - especially smaller ones like ‘tete a tete’ - reticulate irises, muscari and scillas. These need not be special or different from those in your borders or grass but will flower a little earlier and can be positioned to maximum effect next spring.
Choose an attractive pot which need not be deep - a terracotta pan is ideal - and can be very small - a few crocus in a small pot can cheer the darkest February day. However, you will need to mix your compost with some grit to make sure the drainage is good and the bulbs do not become waterlogged over winter. Place the planted pots in a sheltered position ready to move into the sun when new growth appears.
TAKE CUTTINGS
If you have not taken cuttings before - do not be daunted. They are easy, mostly successful and the gateway to producing scores of new plants for free. They also enable you to be very specific about what you want.
A plant grown from a cutting will always be exactly the same as its parent plant whereas one grown from seed will always be different.
Semi ripe cuttings are taken from current season’s wood that has started to harden off a little. The tip is soft and bendy but the base of the cutting will have wood that has started to become more rigid. This means that it will be slower to make new roots than a soft cutting but also be slower to die back and this allows for more flexibility and a much reduced sense of urgency about the whole proceedings.
Before you set put to take any cuttings have with you a plastic bag and a sharp knife and secateurs. The bag is for placing the cut material immediately into to reduce moisture loss. In principal it is best to take cuttings in the morning whilst the plant is full of moisture but in practise it is something best done as and when you are minded to do it.
Always choose healthy, strong, straight growth for cutting material. It should be free from any flowers or flower buds. Plants like rosemary will root successfully from side shoots that have been peeled from the main stem but where there is plenty of material I prefer to take shoots with the growing tip intact.
Once you have taken material from the plant and placed it in the polythene bag go and pot them up immediately. The quicker you can do this, the more likely you are to have success.
Strip off all lower leaves and side shoots so that only an inch or less of foliage remains. Cut the bare stem to size with a sharp knife just below a node (the point on a stem where leaves emerge) and bury it in a container of very gritty or sandy compost.
It is best to place the cuttings around the edge of a pot and you can always get at least 4 and often more in one container. Put this somewhere warm and bright but not on a south-facing windowsill as it may scorch.
Water it well and then keep it just moist but a daily spray with a mister will help stop the leaves drying out before new roots have time to form.
You will know that the roots have formed when you see fresh new growth. At that point the cuttings can be removed from the pot and potted on individually before planting out next spring.
PRUNING SHRUB ROSES
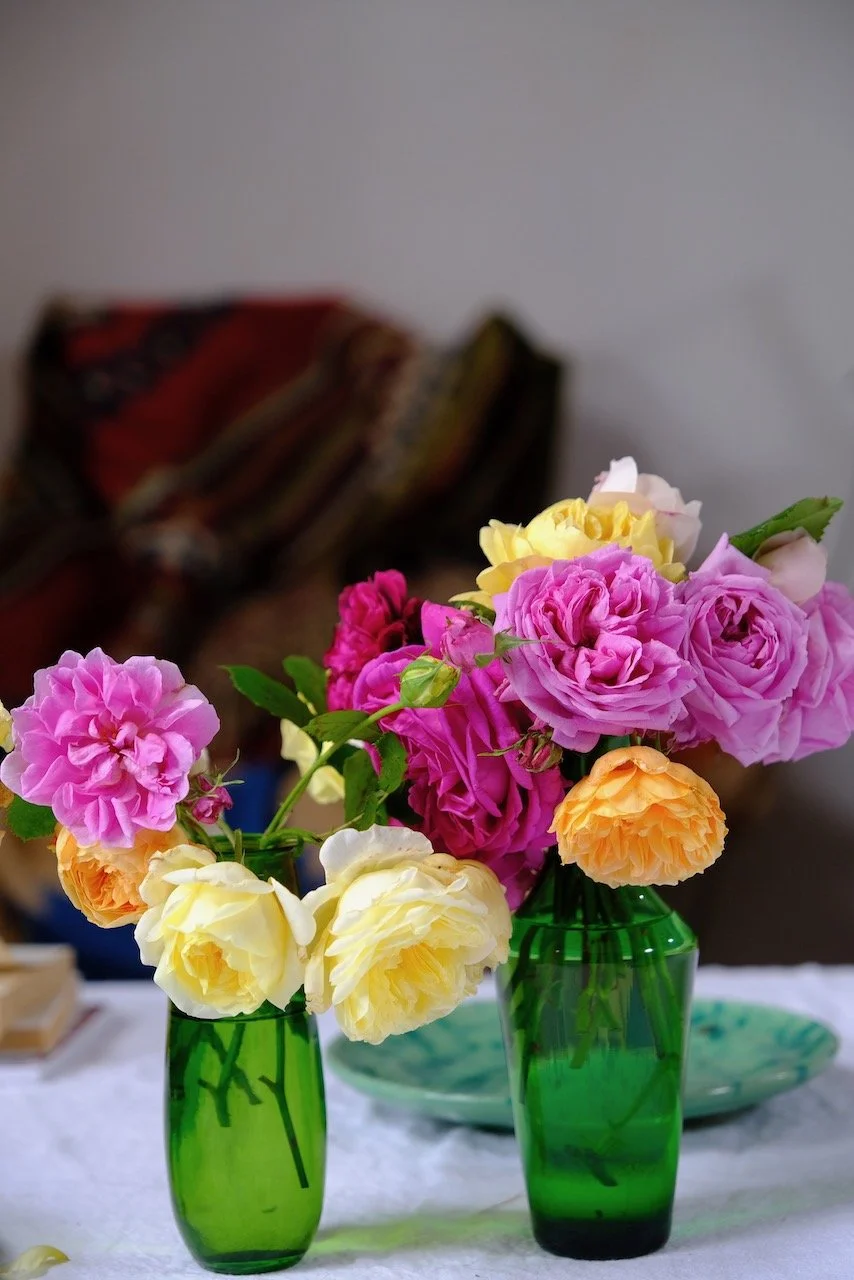
I know that some gardeners are anxious about pruning roses but the many shrub varieties such as the gallicas, ‘english’ roses, albas or Hybrid Perpetuals are best simply trimmed with shears any time this month.
Do not worry about the position or angle of the cuts but clip away all long, straggly shoots as though you were trimming a hedge, leaved a compact, slightly domed bush that is about two thirds of its former size. In March, when you can see clearly without any foliage, you can inspect the shrub to remove any damaged or rubbing stems, but a simple shear in September is enough to keep it healthy and packed with flower next year.
SOW GRASS SEED/REPAIR LAWNS
This is an ideal time of year to either sow or turf new grass or to repair patches and worn areas on your lawn.
If it is just a worn area of thin grass, rake away all thatch and moss and remove all weeds and thinly scatter grass seed, watering well and keeping it damp. The seed should germinate and grow in days.Do not mow it for at least a month and if it looks unsightly going into winter clip the new growth with shears.
For a larger area clean the edges with a sharp spade, fork it over to remove any compaction and either scatter with seed or cut a piece of turf to fit, making sure that the edges are butted tightly against the existing grass.
Like grass seed, it is important that turf should not be walked on or mown until growing vigorously which will indicate that the roots have become established and are growing strongly. Depending on the weather, this may mean leaving it uncut until next spring.
AERATE LAWNS
Even if your lawn has come through this summer unscathed, it is always a good idea to aerate it at this time of year.
You can use a fork by working the tines into the ground at 12 inch intervals or, for a larger lawn, hire a rolling hollow-tine or slitter. Ideally this is followed by working sand into the holes they create with a stiff brush.
Finally five the grass a though scratch with a wire rake, to remove all the thatch and moss and whilst it will look a little threadbare this autumn, next spring your lawn will be rejuvenated for this autumnal working over.
APPLES
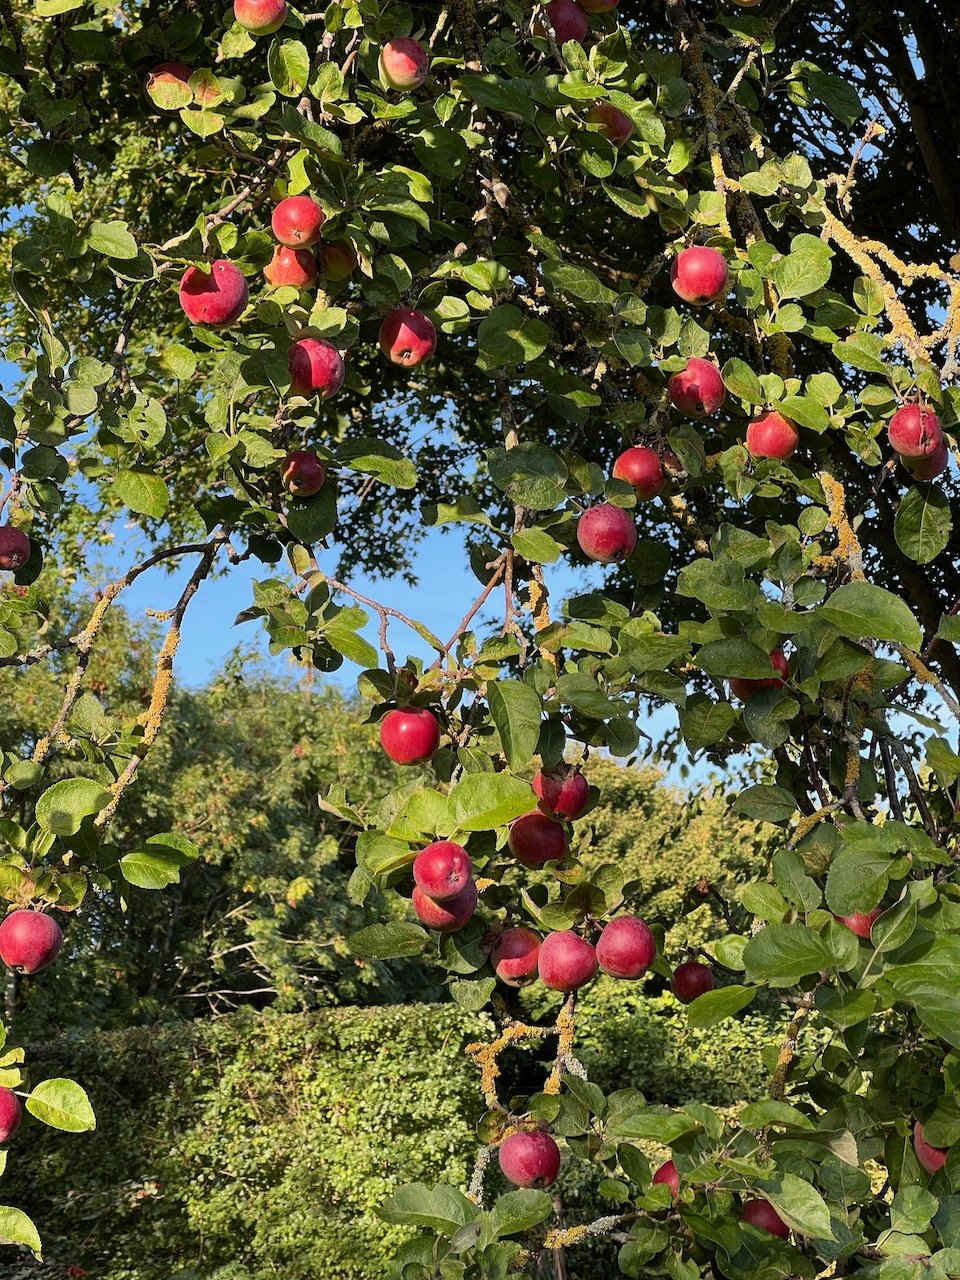
Start to pick over any apples at least once a week, checking to see if any are ripe by holding them in the palm of your hand and gently lifting and twisting to see if the stalk comes away easily. Do not force it as when it is ready they always pick very easily.
If apples are to be stored successfully - and if carefully placed in a cool, dark fairly moist place they will keep for months -they must be picked without any bruises or blemishes and any windfall, however seemingly perfect, will not keep and should be eaten fresh or cooked and then frozen.
If you have more windfalls than you can possible eat or process, consider hiring an apple press to make juice which can then be bottled and stored.
RIPENING TOMATOES
Tomatoes ripen best when the temperature is between 26 & 30 degrees so this summer was too hot for many of them - especially if grown under glass and meant that many stayed green much longer than in a cooler summer. However by September the heat is running out and inevitably we are all left with green tomatoes that are never going to ripen. However if you pick them - either individually or on the bine, then put them in a drawer with a banana they will ripen and turn red.
PRUNING SUMMER-FRUITING RASPBERRIES
The old brown canes of Summer-fruiting raspberries can now all be cut down to the ground, leaving the fresh new green canes standing. These new canes will carry next summer’s crop.
It is a good idea to reduce these to the half dozen strongest shoots, taking out all smaller or awkwardly positioned growth. The remaining canes will need holding securely for the next year and therefore summer raspberries are best grown against a permanent system of support.
I tie the canes with twine to parallel wires fixed strongly between robust posts, weaving round them and fanning them out them evenly as I work along the wire at each level. It is important that it is really secure as winter winds can catch and damage them.
PLANT GARLIC
There are two types of garlic, hardneck and softneck. The type you mostly buy is softneck which has a plaitable stem, stores well (which is why shops stock it) and is often excellent. But the best, tastiest garlic is hardneck which has a stiff, upright stalk and because it is much harder to buy it makes sense to grow it yourself.
Hardneck varieties such as ‘Red Duke’, ‘Rocambole’, or ‘Early Purple Wight’ are slower to grow so should be planted in September if possible whilst softneck varieties can wait till October or even November.
Like all garlic of any type, plant plump individual cloves (the bigger the clove the bigger the bulb it will generate) about 6 inches apart , pointed end up and buried a good inch below the surface in good but well-drained soil. Shoots will appear in about 6-8 weeks.
SOW SPINACH
Spinach is a very hardy crop that grows best in mild weather and will quickly germinate and establish if sown in early September to provide young leaves in autumn and an over-wintering crop to be harvested right through to late Spring next year - by which time a spring-sown crop will have established.
Rake the ground to a level tilth and draw rills about an inch deep and 9-12 inches apart. (I use a scaffolding board, running a drill down either edge, to measure the width, ensure straightness and to stand on) Sprinkle the seed thinly and evenly, trying to space them an inch or so apart. Cover them over and water. They should germinate in 7-10 days.
MOVE PERENNIALS
September is a good month for moving herbaceous perennials. By doing this when they are in full flower you can see clearly how they look in their new position and how they relate to the other planting around them. It also means that the roots will continue to grow and become established by winter so that next spring they will grow with extra vigour. Also climate change means that Spring is often dry and this can be damaging for newly planted or moved plants.
Having moved them, it is a good idea to cut them back so that the plant has a rest and can recover from the trauma of being uprooted.
CUT HEDGES
It is safe now to trim hedges in the knowledge that the vast majority of nesting birds have fledged. Summer pruning results in slower, less vigorous regrowth than a winter trim so clip hedges to the height and shape that you wish them to remain for the rest of the year. Start with the sides, making sure that you have a slight ’batter’ or outward slope from the top to the bottom. This ensures that the lower section is not shaded by the top growth - which is always more bushy as it gets more light - and the hedge remains fully ‘furnished’ right down to the ground.
Finally, cut the top, using a string strung between canes as a guide. Deciduous hedge trimmings can be mown and added to the compost heap and evergreen ones taken to the council green waste.
DEADHEAD DAHLIAS
Dahlias will keep producing new flowers well into autumn as long as they are deadheaded regularly. The easiest way to tell the difference between a spent flower and an emerging bud is by the shape: buds are invariably rounded whereas a spent flower is pointed and cone-shaped. Always cut back to the next side shoot - even if it means taking a long stem - as this will stimulate new flowers and avoid ugly spikes of stem.
And if you do not have dahlias then deadhead anything and everything daily - nothing else is so effective in keeping summer flowers from lasting as long as possible.
TOMATOES
Tomatoes are coming up to their prime harvesting period but to extend this and make sure that all the current green tomatoes fully ripen over the coming month or so there are a few things the tomato grower should do now.
The first is to strip off the bottom half of the leaves on each plant. This will let in light and air so that the growing fruits get more sun and also he extra ventilation will reduce the risk of disease. This process can be continued weekly until there are no leaves left at all.
Reduce the watering unless it is very hot to avoid the fruit splitting but keep up a weekly feed of liquid seaweed or, if you can make it, home-made comfrey feed. Both are ideal for maximising flower and fruit production.
TAKE CUTTINGS
As August progresses semi ripe cuttings taken from current season’s wood that has started to harden off are increasingly available and also increasingly likely to root quickly.
Always choose healthy, strong, straight growth free from any flowers or flower buds. Once you have taken material from the plant and placed it in the polythene bag go and pot them up immediately.
Strip off all lower leaves and side shoots so that only an inch or less of foliage remains. Cut the bare stem to size with a sharp knife or secateurs and bury it in a container of very gritty or sandy compost or even pure perlite.
To form good roots the plant does not need any nutrition other than oxygen and water so whatever material you put the plant into must be loose, drain well and not dry out. Once the roots are formed and you see signs of growth then it will start to need better nutrition and need potting into better compost.
Put this somewhere warm and light but not in full sun or on a south-facing windowsill as it may scorch. Water it well and then keep it moist with a daily spray from a hand mister to help stop the leaves drying out before new roots have time to form.
Most cuttings taken at this time of year will take between 4 and 6 weeks to produce viable roots but you know that the roots have formed when you see fresh new growth or, when lifting the pot, see thin roots appearing from the bottom of the pot. At that point the cuttings can be removed from the pot and potted on individually into fresh peat-free potting compost and put aside over winter before planting out next spring.
In principal it is best to take cuttings in the morning whilst the plant is full of moisture but in practise it is something best done as and when you are minded to do it.
PRUNING LAVENDER
To avoid woody, leggy plants, lavender should be pruned every year. The best time to do this is as soon as the flowers start to fade, which, depending on the variety, can be any time between midsummer and the end of August. But do not wait for the seed heads to form or the flowers to turn brown as you want to allow the maximum amount of time for regrowth before winter.
Cut back hard to a good compact shape but be sure to leave some new shoots on each stem - lavender will often not regrow from bare wood. These new shoots will grow fast and provide an attractive and healthy cover to protect the plant in winter and provide the basis of next year’s display.
COLLECTING SEED
Growing your favourite plants from seed is easy and practically without cost. Not only will this give you dozens of free plants for future years but also spares to give or swap with friends and family and August is the time to begin collecting seed from your garden.
Use brown paper envelopes - A5 is the idea size - and either carefully cut the seed heads and upend them into the envelopes, seed head and all or else place the envelop over the seed head, seal it and then snip the stem off and store it upside down. Label each envelope clearly with the date, name of the plant and, ideally, the position in the garden, and store them in a cool, dry place.
After a week or two the seeds should be dry and can them be sieved, cleaned and stored in sealed packets. For longer term storage a plastic tub with a tight lid stored in the fridge is ideal.
WATERING CAMELLIAS, AZALEAS AND RHODODENDRONS
Camellias, Azaleas and rhododendrons form their flower buds in late summer and autumn. In other words the display that they give you next Spring is largely determined over the coming weeks. If they are too dry the buds will not form properly and those that are made quite often subsequently drop off in the spring before flowering as a result of dehydration the previous autumn. So give them a good soak - with rainwater if at all possible - especially if they are growing in a container, and do so each week for the next couple of months.

