
February 2022
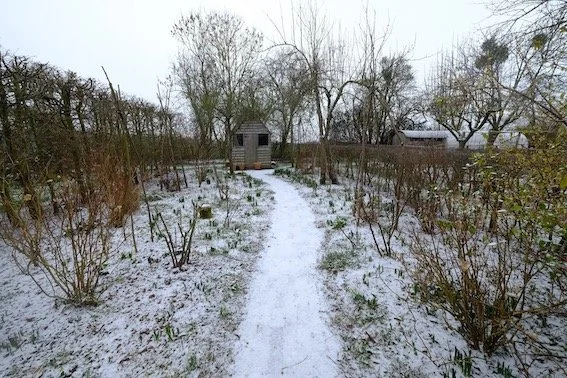
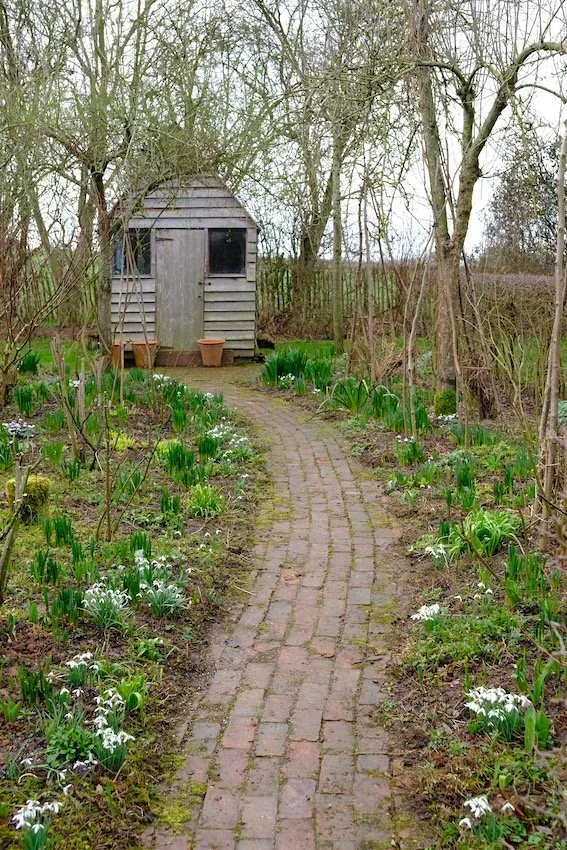
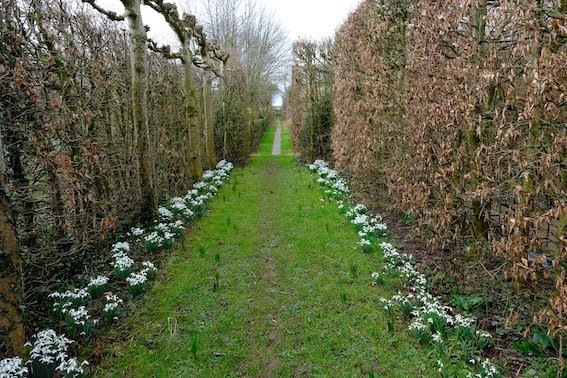
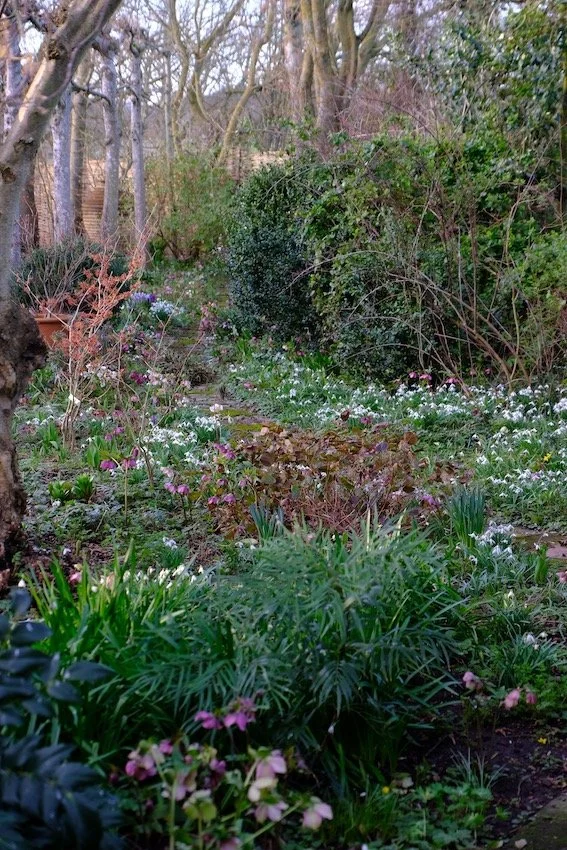
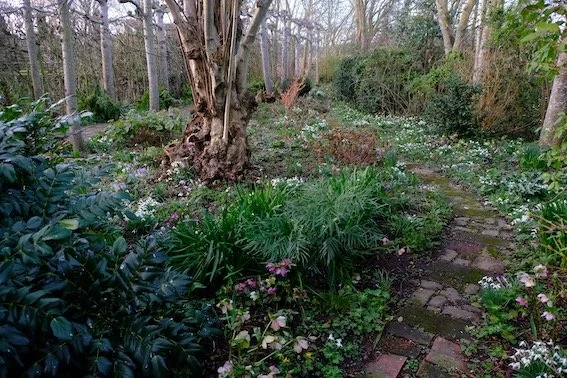
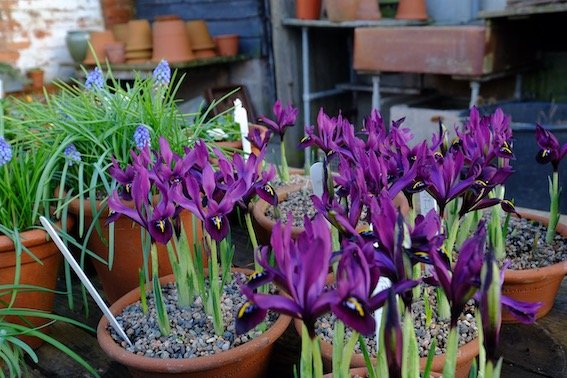
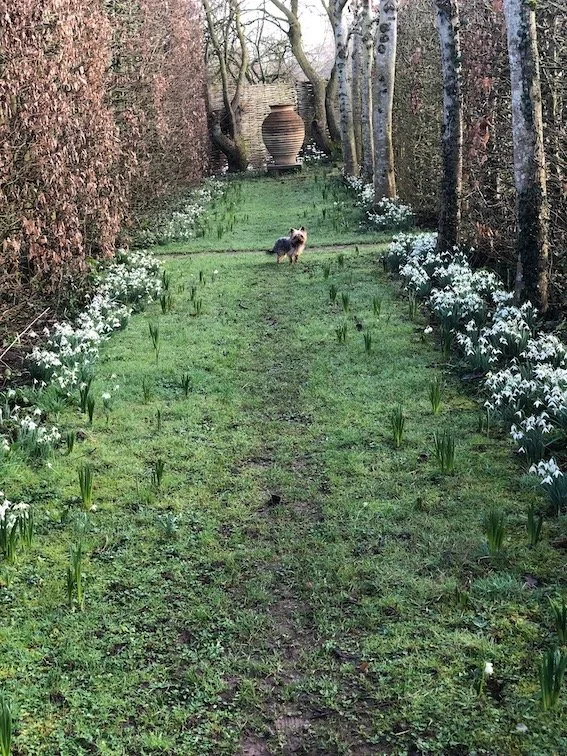
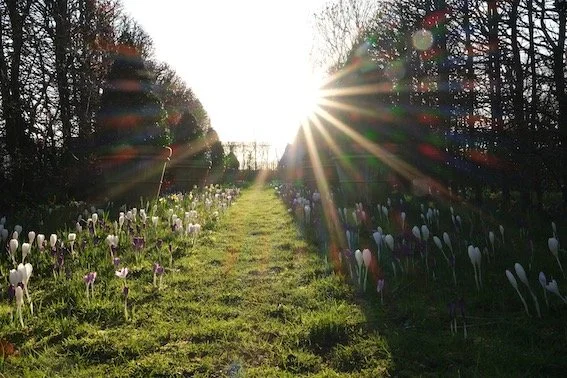
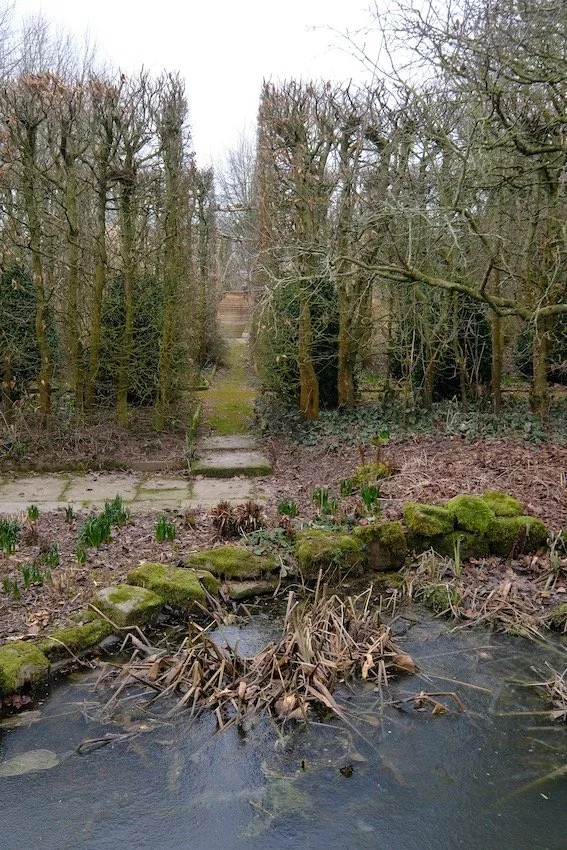
January was the driest that I can remember. This followed a dry autumn . The result has been that the early spring bulbs such as snowdrops, crocus and iris are rather late to appear - particularly the snowdrops which do best in fairly moist soil. However better late than never and they are appearing.
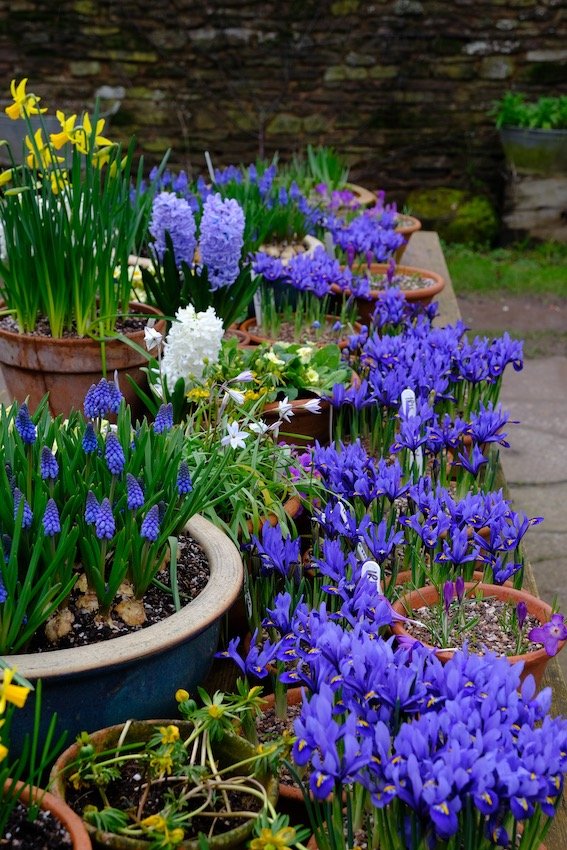
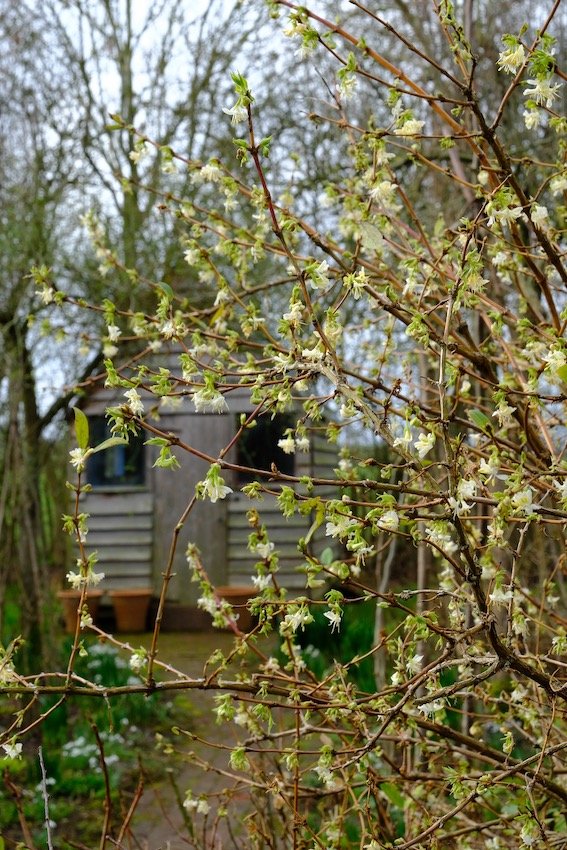
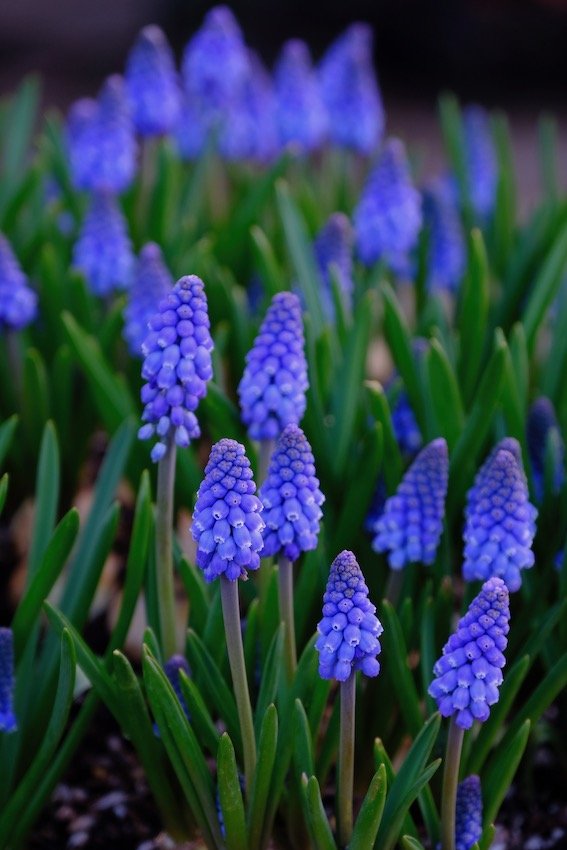
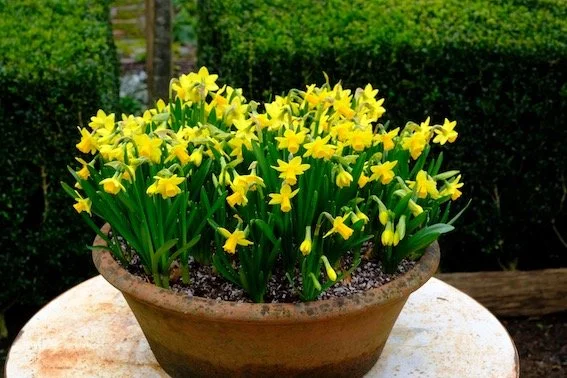
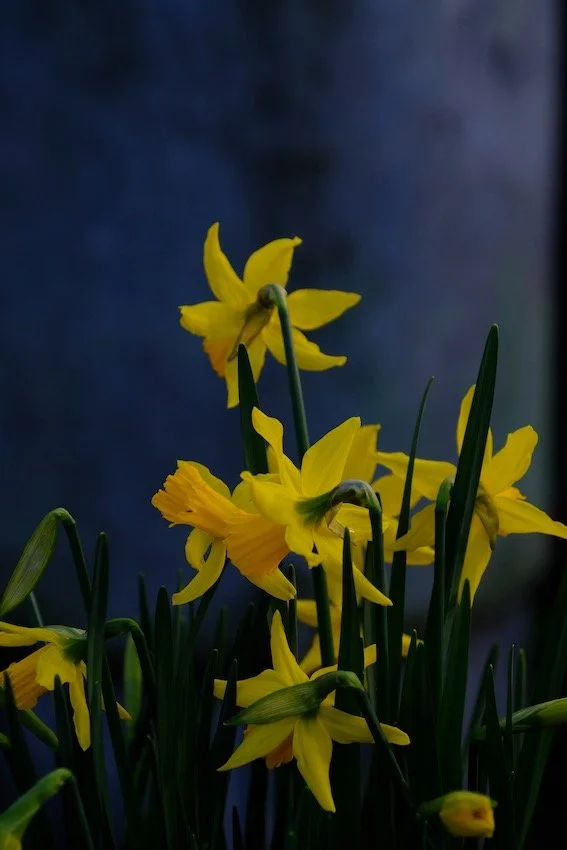
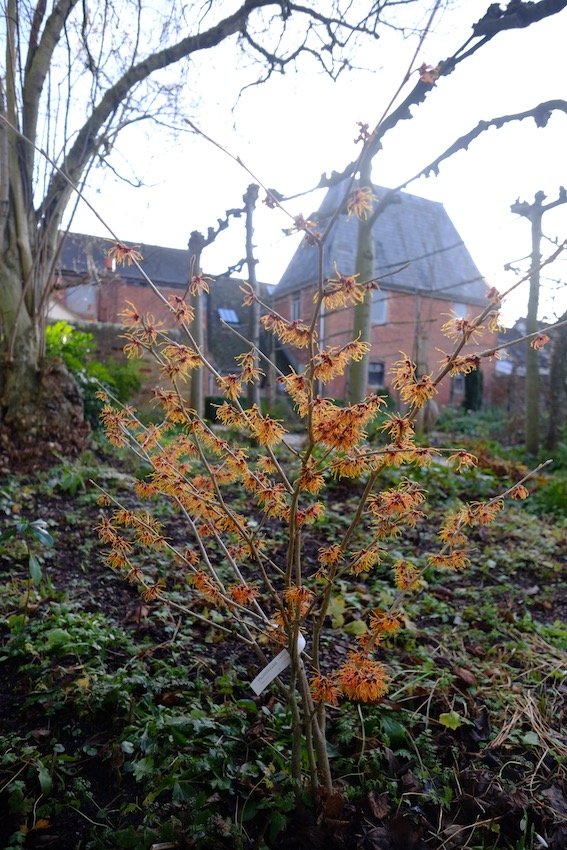
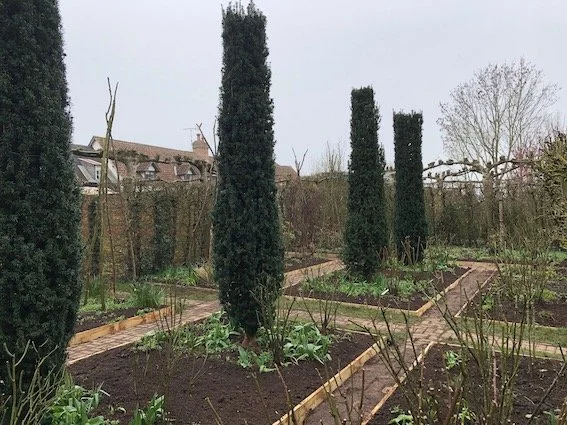
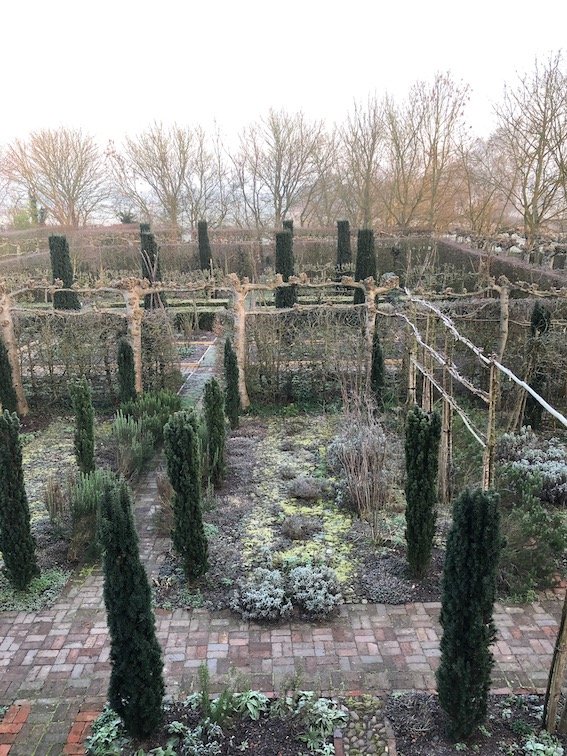
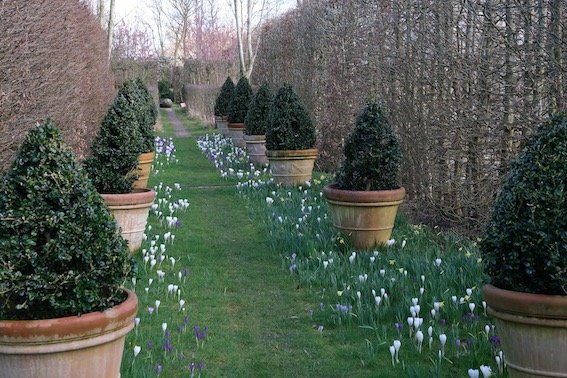
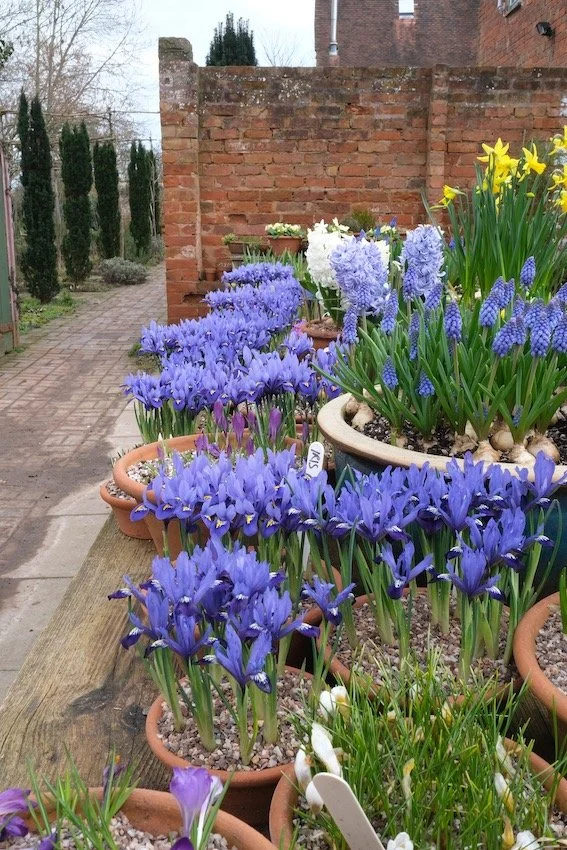
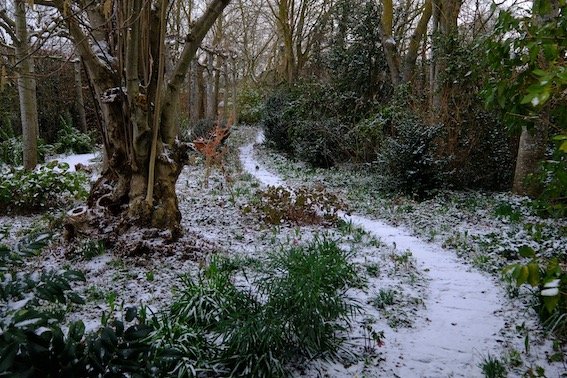
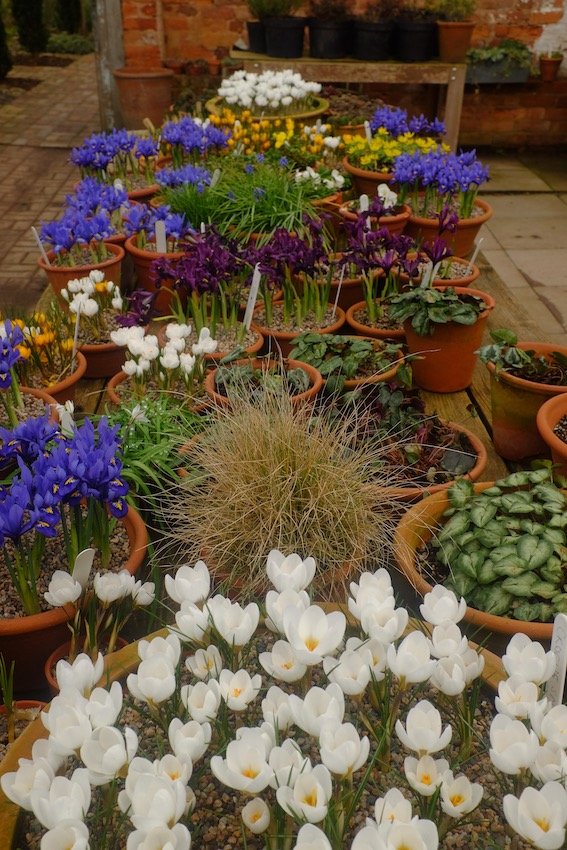
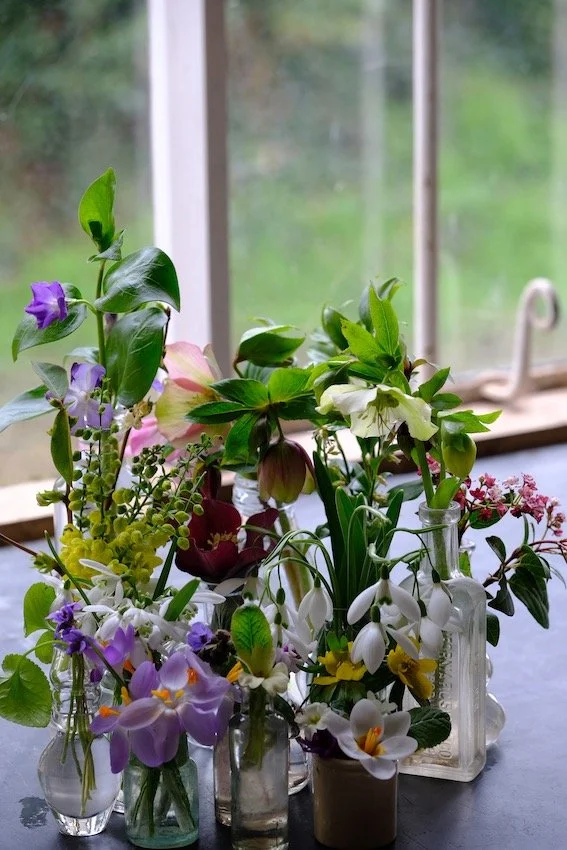
We might have snow, ice and wind in February but none of that stops all the fabulous first bulbs from appearing and breaking into bud. Snowdrops, crocus, early daffodils, primroses, intense early irises, muscari and scillas all break into flower so that however wintry the weather, the garden starts to look and feel like spring.
In the northern hemisphere the most exciting aspect of this time of year is the way that the days are lengthening. By the end of the month dawn is breaking not long after 6 am and it is still light by 6pm. Every day there is more and more light.
February is a busy month for us, not least because we resume filming 'Gardeners World' at the end of the month so there is much to get ready - although I have to remember not to do all the jobs or else there will be nothing left to film in March!


February Jobs
Pruning
There are a number of pruning jobs that can be done in February if you live in the south of the UK but which can keep perfectly well into March if you live further north or you simply do not have time.
Pruning Tips
Always use really sharp tools for pruning. Not only does it make life much easier but it also makes for much cleaner cuts and therefore causes less damage to the plant. Sharp tools are also much safer.
Always use a tool that is operating within its capability. So never strain. Use loppers for stems too thick for easy cutting with secateurs and a sharp saw (Japanese ones are superb) for anything that strains loppers.
Never paint over pruning wounds as this seals in potential disease. Leave them to scar over naturally.
Always cut back to something. Do not snip at random but make your cut just above a bud or a leaf or the joint of another stem.
Pruning Clematis
Late-flowering (Group Three) clematis can all be pruned hard from the middle of the month. When pruning clematis there is one really important consideration: when does it flower?
The old rhyme “if it flowers before June do not prune” will get you out of most trouble but clematis can be subdivided into three flowering groups:
Group 1. early flowering (up to late May). includes C. montana, C. alpina, C. armandii, & C. macropetala. They tend to have many small flowers which are produced on growth made the previous summer. So if you prune now you will be cutting off all flower buds. You will not harm the plant but will radically reduce the quantity of flowers. Trim as necessary (ie to shape and size) in June. Garden shears are often the best tool for this.
Group II. Mid season flowering (Late May to early July). Tend to have much less vigorous growth and much larger flowers. Include ‘Niobe’, ‘Barbara Jackman’, Nelly Moser’, The President & H.F. Young’. These often flower twice, first on growth produced the previous year and again on new growth. The second flush is always of smaller flowers.
If you prune hard at this time of year you will not have any early, large flowers but plenty in late summer. . The best bet is to remove all weak or straggly stems now as well as all growth above the top pair of healthy buds.
Group III Late flowering. (after mid June) Includes clematis jackmanii, C. viticella, ‘Gypsy Queen’, ‘Hagley Hybrid’, ‘Perle d’Azur’ and ‘Ville de Lyon’. All are multi-stemmed. They all flower on growth made in spring so all the previous year’s growth should be cleared away now. I always cut down to about 2ft from the ground, leaving at least two healthy pairs of buds.
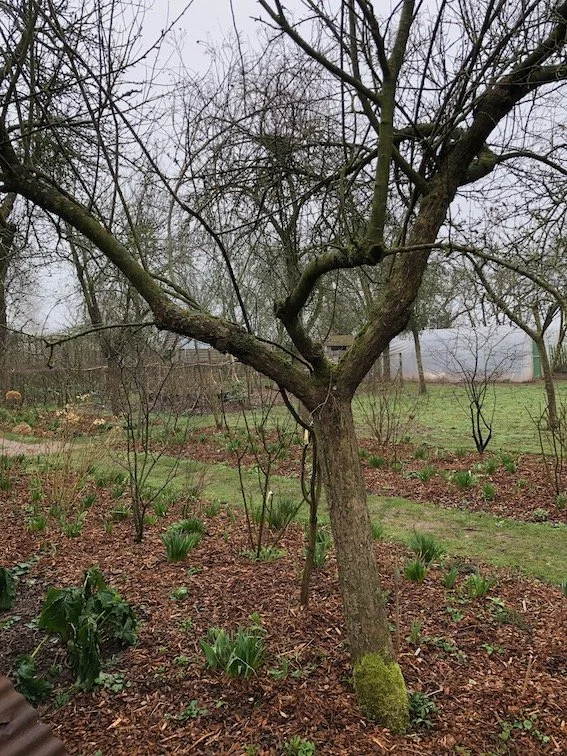
Pruning Roses
There is a lot of mystique about rose pruning, whereas the reality is that they are all tough shrubs that can take a mauling by anything from secateurs to a flail cutter and bounce back. However there are three considerations to bear in mind when pruning roses.
1. Hybrid teas, floribunda and Hybrid perpetuals. These flower on the current season’s wood. So they should be pruned hard each spring, removing all weak, damaged or crossing stems first and then pruning the remaining stems to form an open bowl of stubby branches. Don’t worry too much about outward sloping cuts but do always cut just above a bud. remember to cut the weakest growth hardest.
2. Shrub roses. These need very little pruning and a once-over with a hedge trimmer has proven to be very effective. I prune mine in winter and early spring by removing exceptionally long growth, damaged or crossing branches and then leave alone. There is a strong case for doing this in late summer or early autumn.
3. Climbing Roses. This can be subdivided into two groups:
a) True climbers - which tend to have single, large flowers covering the period from early summer right into autumn. These include ‘New Dawn’ ‘Albertine’ & ‘Dorothy Perkins’. These should be pruned in autumn or winter, trying to maintain a framework of long stems trained laterally with side branches breaking from them. These side branches will carry the flowers on new growth produced in Spring. Ideally a third of the plant is removed each year - the oldest, woodiest stems -so that it is constantly renewing itself.
b) Ramblers which have clusters of smaller flowers just once in mid summer. These include ‘Bobbie James’, ‘Rambling Rector,’ ‘Paul’s Himalayan Musk’ & ‘Wickwar’. These need little pruning but should be trained and trimmed immediately after flowering as the flowers are carried mostly on stems grown in late summer.
Prune Buddleias
If you live in the south or a sheltered area February is the best time to prune the Butterfly bush, Buddleia davidii, and it can be done any time in the coming month in colder areas. It produces its flowers on new growth so if it is cut back hard new, just before it begins growing, you will both stimulate extra new shoots and make sure that the shrub has as high a proportion of flower to wood as possible.
If your buddleia is growing in the open it can be cut back very hard indeed- leaving just two or three sets of new shoots from the base. If it is growing in a border it is better to cut back to two or three feet from the ground so that the new growth does not have to compete with surrounding herbaceous plants for light and air.
If you cut the pruned stems into short lengths they can be placed as a bundle in a corner to make excellent cover for insects and small mammals and thus add to the wildlife in your garden.


Sow Tomatoes
I like to sow tomatoes in two batches, the first in February and another in March or even April both to stagger the harvest and as an insurance against bad weather. I scatter the seed thinly on the surface of peat-free compost in a seed tray and then very lightly covering them either with a layer of more compost or of vermiculite. Water them well and put them in a warm spot to germinate.
When the seedlings emerge make sure that they have as much light as possible and when they develop their first pair of ‘true’ leaves - that is to say leaves, however small, that are recognisably a tomato rather than the ones that grow initially - you know that the have roots and should be pricked out into better compost and individual pots or plugs to grow on into young plants ready to plant out in May.
Chitting Potatoes
Potatoes grow from sprouts that emerge in spring from the tubers and we are all familiar with transparent sprouts emerging from potatoes stored in the dark at this time of year. But if seed potatoes are exposed to light now the new sprouts will be knobbly and dark green.
When these ‘chitted’ potatoes are planted they are are primed to grow away extra quickly. This is s especially beneficial for first earlies or maincrop varieties grown where blight is likely.
Place the seed potatoes in a seed tray or egg box and put somewhere bright, cool but frost free. The knobbly shoots will start to appear after a few weeks and can then be left until the soil is warm enough for planting.
Sow Broad Beans
If the ground is at all workable then I always try and sow some broad beans in February for an early crop. As soon as the soil warms up a little and the days get longer they will have had enough of a start to provide a picking a week or so earlier than the later ones - and that is a treat worth preparing for. Broad beans are legumes and although they add nitrogen to the soil they do best in ground that has had plenty of organic material added to it.
Sow the bean seed about 8 inches apart in double rows with about a foot or so between the lines and plenty of space - ideally about 3 ft -between these double rows. You can draw a drill and place the beans in it and then cover them back over or, as I do, simply push each bean directly into the prepared soil. The best variety to use for these early beans is ‘Aquadulce’ although ‘Witkiem’ does well too.
Sow Rocket
Rocket is deliciously peppery and succulent and makes a delicious early spring salad leaf. Now is the best time to sow it as it germinates very fast and will grow in relatively cool weather whereas most lettuce needs warmer conditions to grow well.
Either sow directly where the crops are to grow or into plugs that can be germinated under cover and planted out when the seedlings are growing strongly. In both cases leave plenty of room- 6-9 inches - between individual plants. This will help them s develop a strong root system which will produce stronger growth and a much greater number of leaves to harvest. The leaves are best cut as needed and will rapidly regrow as a result.
Another advantage of sowing rocket at this time of year is that it avoids flea beetle - which will leave a rocket leaf pinpricked with scores of tiny holes, each one of which callouses and makes the leaves tough to eat.
Sow Chillies
Chilies need a long growing season, so sowing them early in the year gives a chance of a strong plant developing. Sprinkle the seed thinly in a general purpose compost either in seed trays or pots and put them in a warm place - ideally on a heated mat or in a propagator as they need at least 20 degrees to germinate. Once they have germinated give them as much light as possible. A greenhouse helps but a windowsill will do. The seedlings will grow slowly at first so don’t worry if they seem to be stalling whilst other seedlings are growing more quickly. As soon as they are big enough to handle transplant them to individual pots. Keep the pots slightly on the small side which will stress the plant and stimulate more fruits.
They benefit from a weekly nitrogen feed (home-made nettle feed is ideal) to encourage strong, bushy plants. They will be ready to pot on or plant out in mid May. As soon as the first flowers develop change the weekly feed to one high in potash to encourage the formation of flowers and subsequent fruit - I use liquid seaweed which is ideal. Do not over-water and always keep them as warm as possible.

Prepare Dahlias For Cuttings
All our tender plants still need protection and will do so until May. However dahlia tubers can be potted up towards the end of the month and forced into growth with extra heat to produce material for making cuttings. These cuttings will then grow on and make flowering plants by the end of summer which both extends the season and replenishes tired stick. Any peat-free compost will do, with just enough to the tubers. Place the pot on a heated mat or window sill and keep moist. New shoots should appear after about 10 days and they can be taken for cuttings in about 3 weeks later.
Growing Lilies In Pots
Most lilies grow best with cool feet and sunny heads. Which is to say that they do not like to be planted in exposed positions but their flowers do best if they get the sun for at least half the day. That can be awkward to provide, especially if your soil is very alkaline as most lilies prefer ericaceous soil - other than Madonna Lilies that also grow very happily in pots. This makes growing them in pots a good idea so you can give them the soil and the position that they will thrive in and I have lilies growing in containers in the Paradise and Writing gardens.
You can plant them at any time between the beginning of the year and the end of next month.You will not go wrong if you provide good drainage and a nice, loose compost. I achieve this by mixing in plenty of leafmould and grit into a bark-based general purpose compost but just adding perlite or vermiculite will help greatly. Plant the scaly bulbs with about 4 inches of compost above the crown and put them somewhere lightly shaded to grow. Keep them well watered and move them to their final position when the buds develop in May and June. In general lilies like shady roots and sunny flowers so a west or east facing sheltered spot is ideal for their flowering performance.
Check Ties & Supports
This is not a glamorous job but an important one. Go round your garden checking all supports, wires, ties and structures that will be carrying climbing plants this year. Any that are damaged or a bit ropey should be repaired or replaced now before they need to be used and before new growth begins that might be damaged by such repair work or even your heavy footwork in a border.
Mulch Any Bare Soil In The Flower Borders
Mulching is very effective but very simple. All you have to do is spread a layer of organic material over any bare soil.
This will do three important jobs simultaneously. The first is to suppress any annual weeds and weaken any perennial ones. The second is to reduce evaporation and therefore keep in moisture and the third is that it will be incorporated into the soil by worms and improve the structure and nutrition.
The very best material to use is good home-made garden compost as this will be rich with the bacteria and fungi plants need to be healthy. For many years I used spent mushroom compost which is easy to handle and very alkaline so good for lightening and opening out our heavy clay soil. However most growers now use some peat as part of their mushroom compost so I have stopped using it and will not do so again until it is guaranteed peat-free. As an alternative I am using some home-made compost, some council green waste, some proprietary organic peat-free compost and bark chips. I have used the latter for many years on our grass borders as they are slightly ericaceous (acidic) and have low fertility, both factors which are beneficial to ornamental grasses.
Whatever you use it is important to spread it thick enough - no less than 2 inches deep and twice that if you have enough material. It is better to to do half the garden properly than all of it with too thin a layer of mulch.
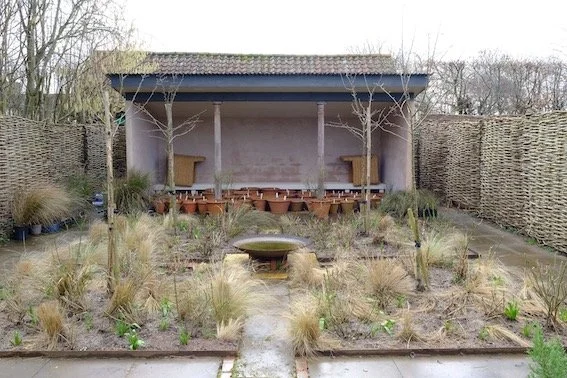
Cut Back Deciduous Ornamental Grasses
Deciduous grasses like miscanthus, calamagrostis and deschampsia should all be cut back hard to the ground before the new green shoots start to grow too long. Evergreen grasses like the Stipa and cortaderia families should not be cut back. However comb through each plant with a rake or your hands (I advise wearing stout gloves as grasses can be very sharp) pulling out all dead growth. The old dead growth can be shredded and composted.
When you have finished clearing and cutting back give the grasses a thick mulch with a low-fertility material – ie not garden compost or manure. I use a pine bark mulch. However, do not divide or move any grasses at this time of year. They must be growing strongly to have the best chance of surviving so wait until late May or even early June.
Feed Birds Daily
Keep on feeding birds as they are now beginning to mate, nest and lay their first clutches of eggs. The better nourished the parent birds are, especially in cold weather, the larger and healthier the offspring will be. So feed fat, nuts and seeds daily throughout the month and be sure to provide fresh drinking and bathing water.