April 2021
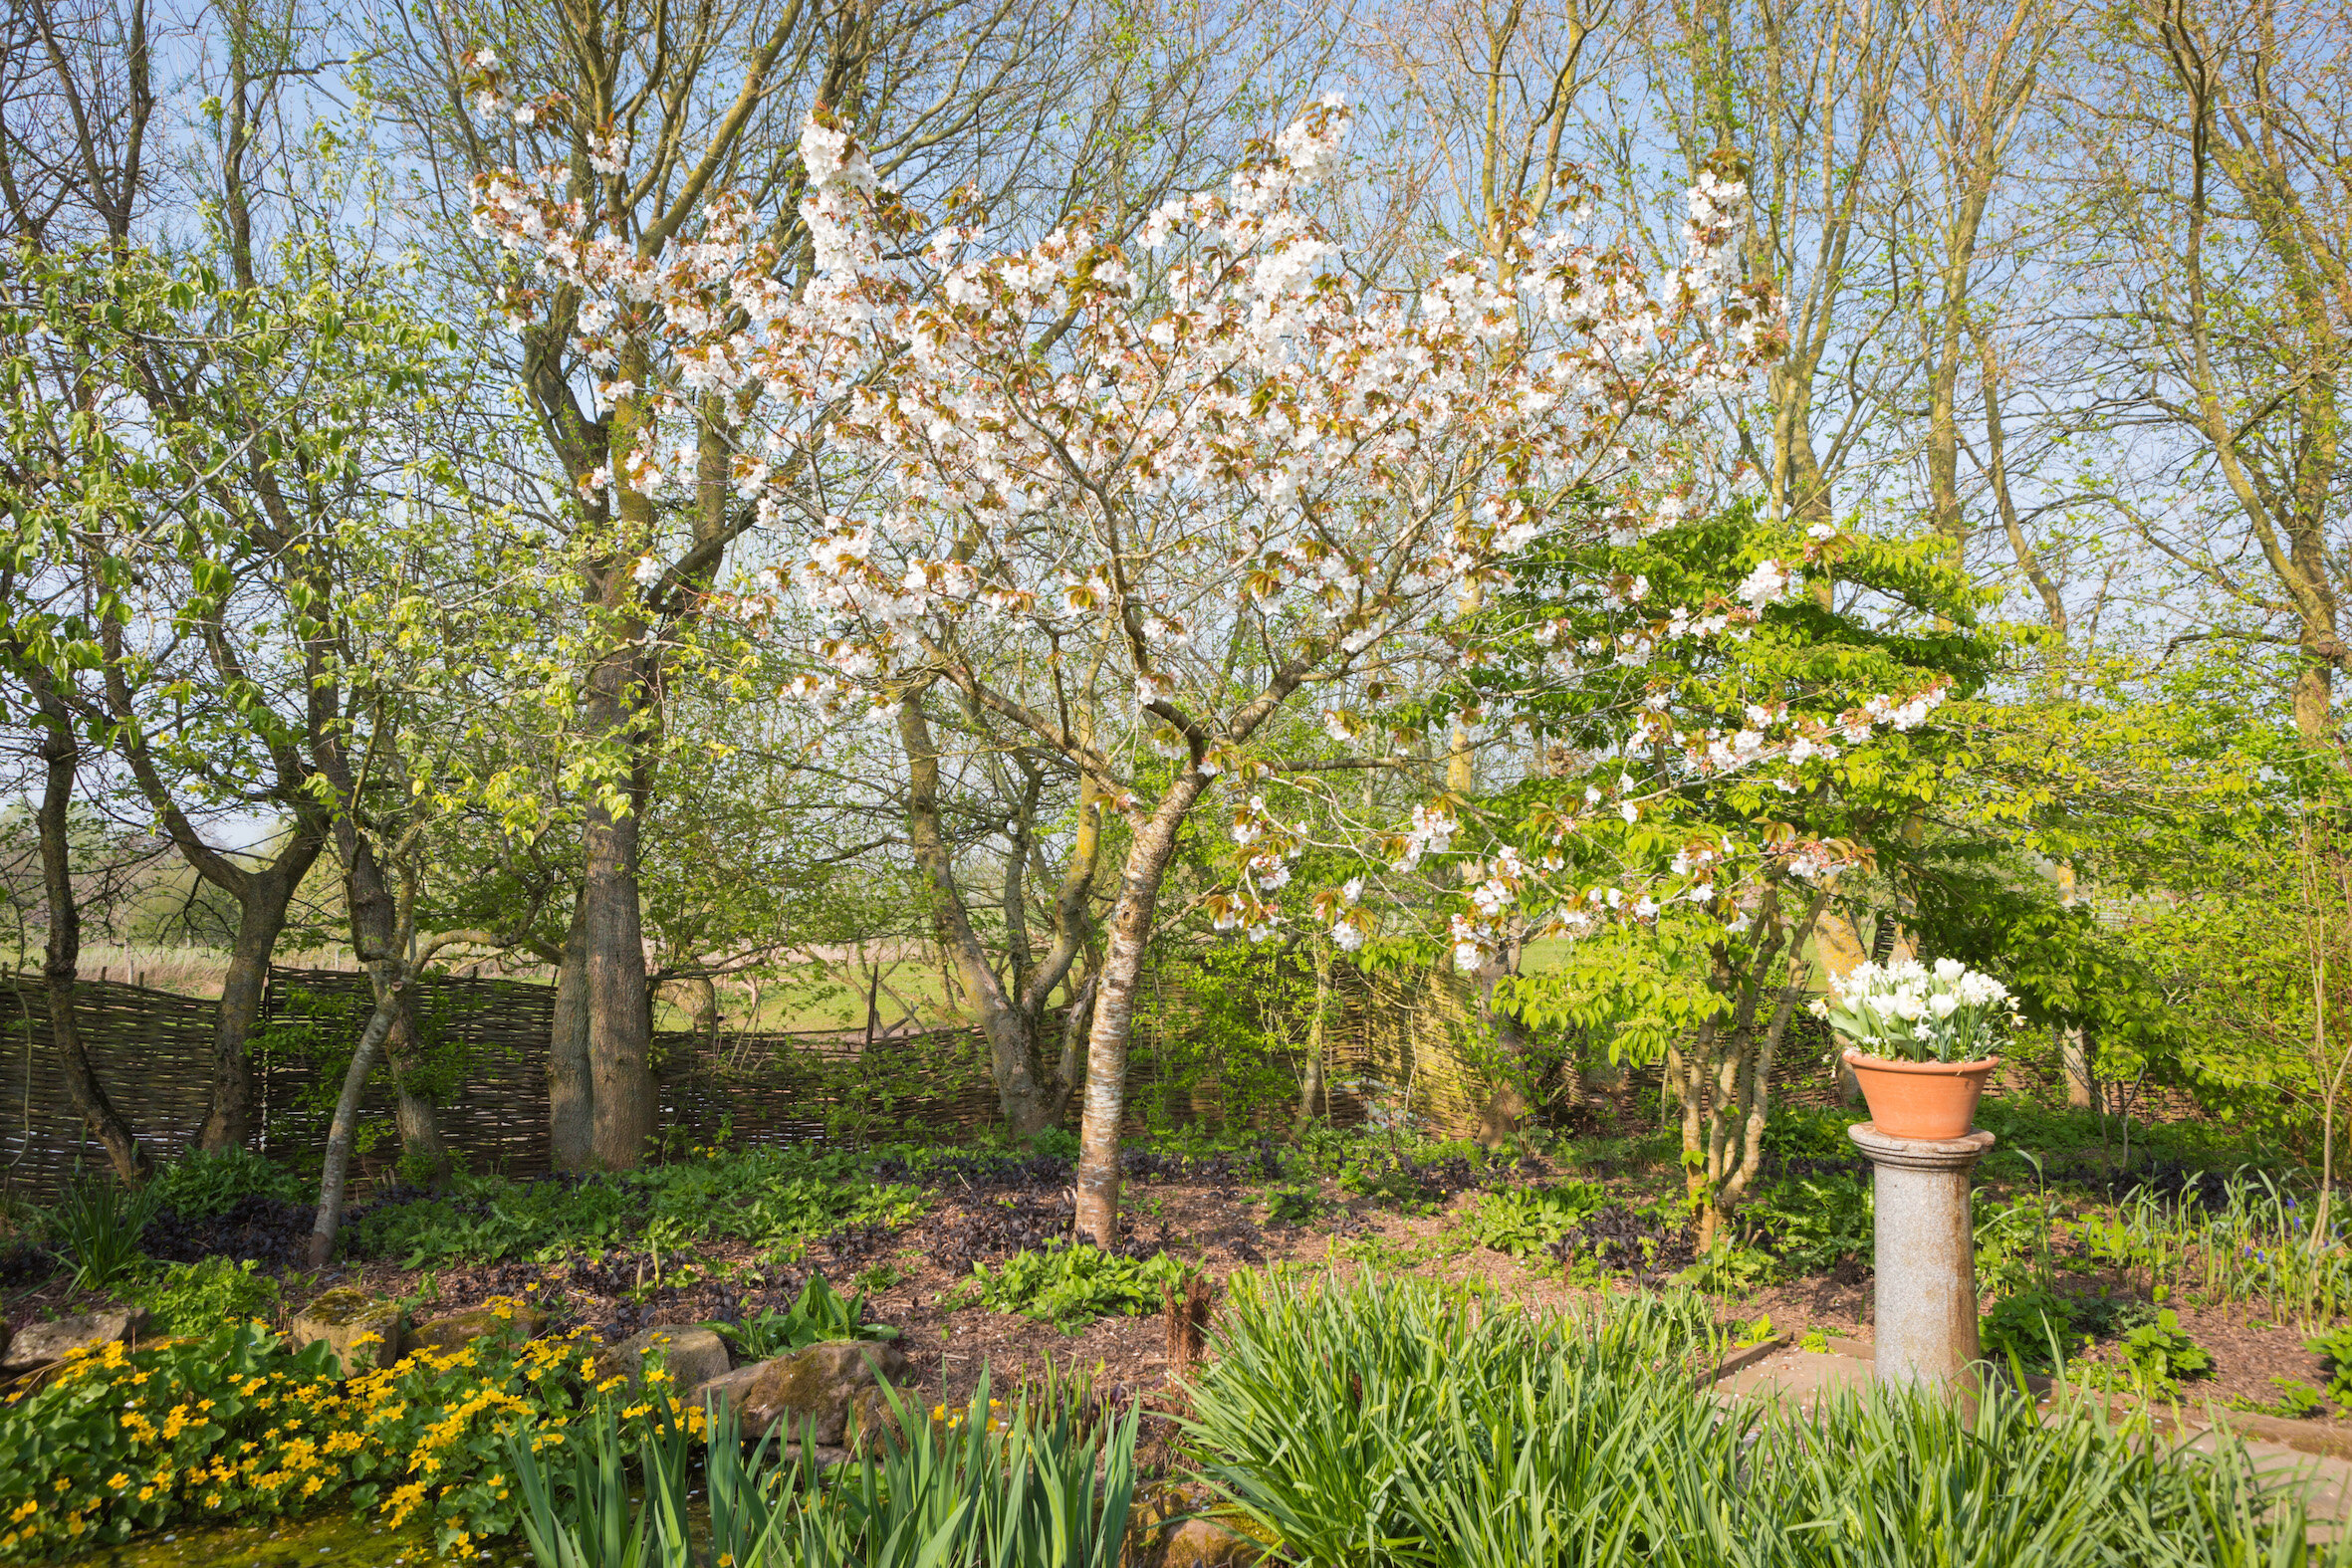
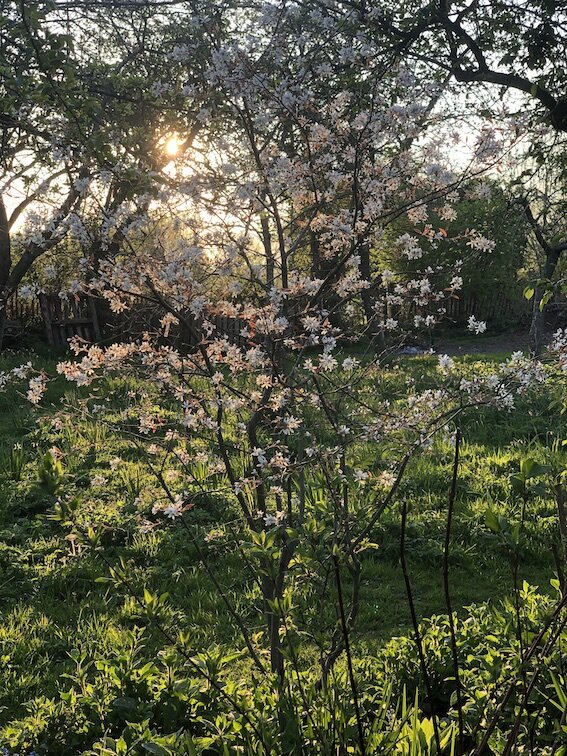
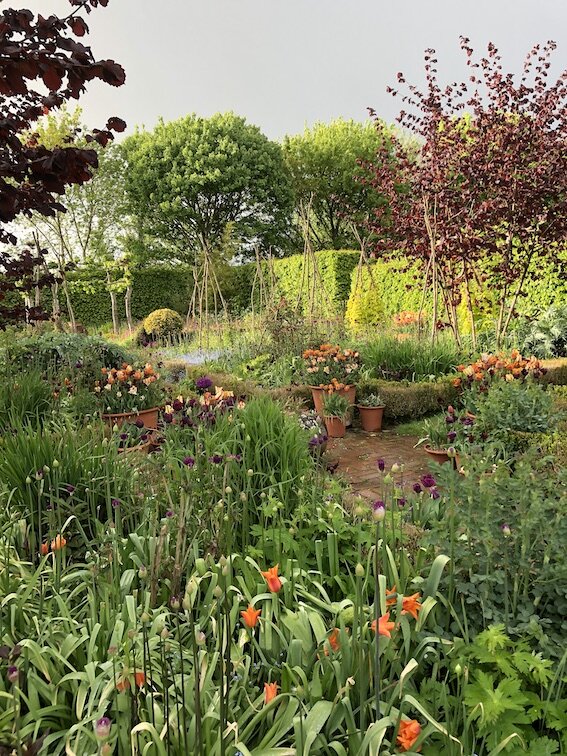
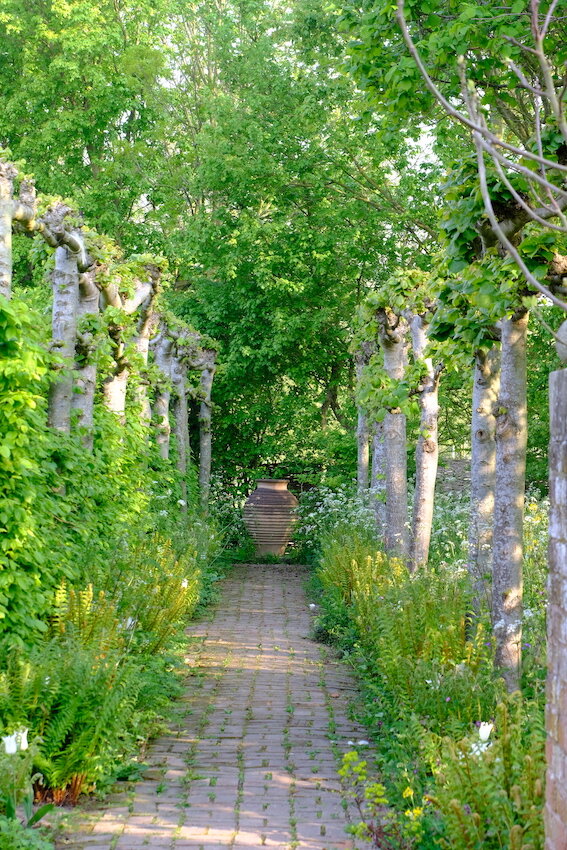
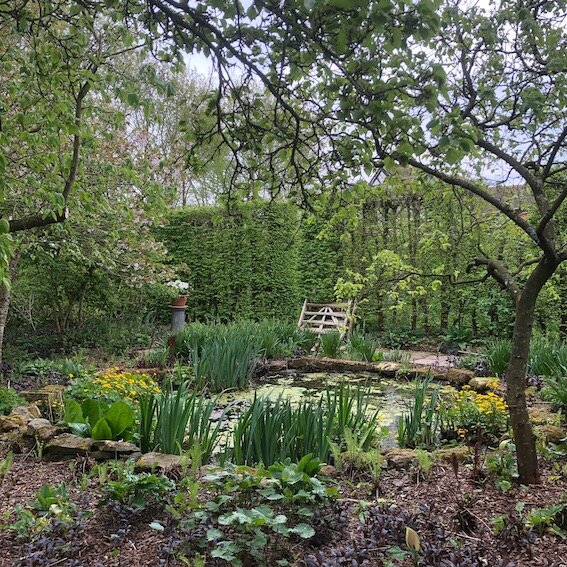
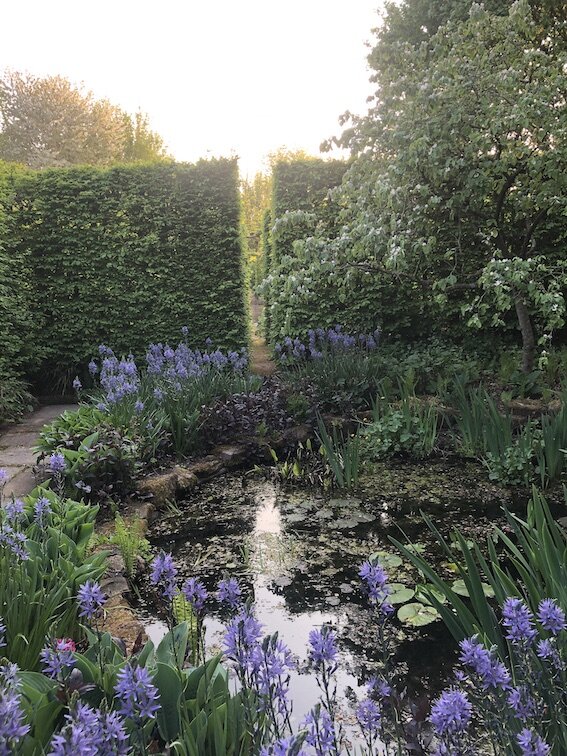
April is the month of growth. Only October can match it for transformation from the beginning to the end of the month. In a normal year (and in truth this year has NOT been normal) April begins dominated by bare brown branches and bare brown soil, the grass still a lustreless winter green and ends with the long days full of the billowing majesty of Spring, heavy with leaf and alight with flower and - really importantly for me - the sky traced by the great swooping arcs of the swallows that have come home for their summer season.
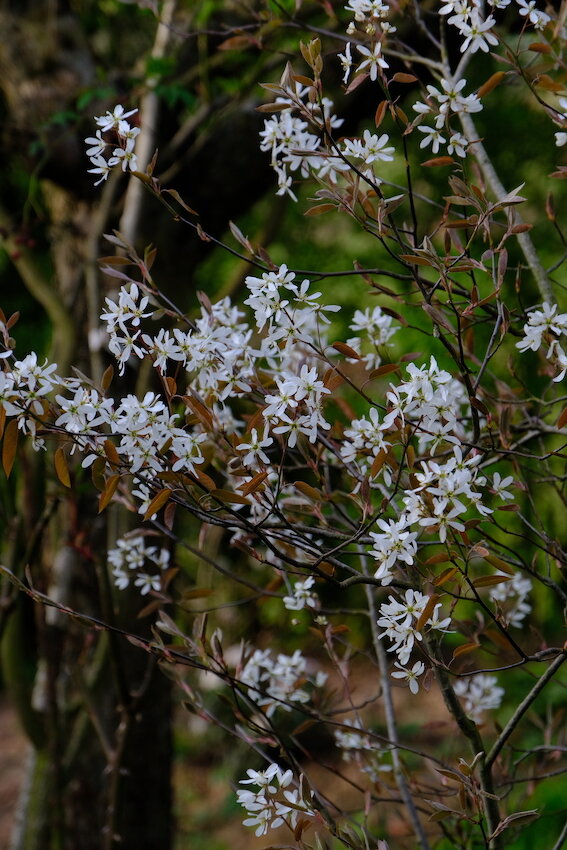
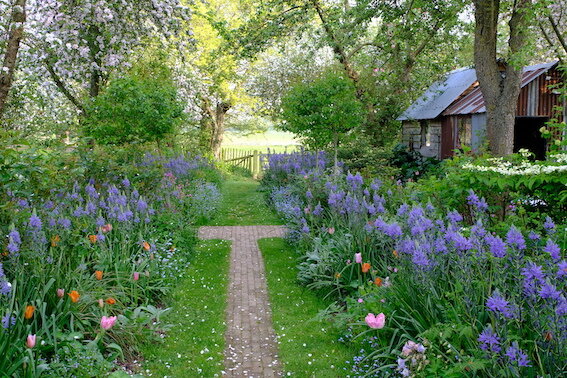
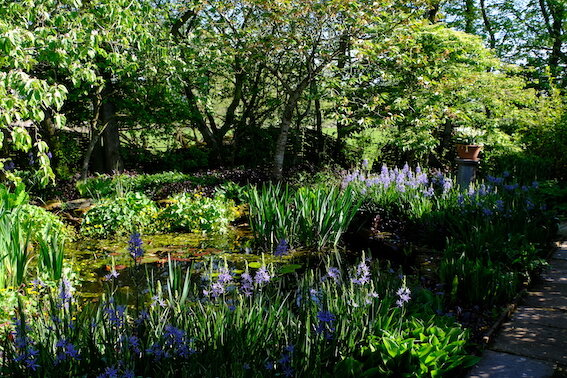
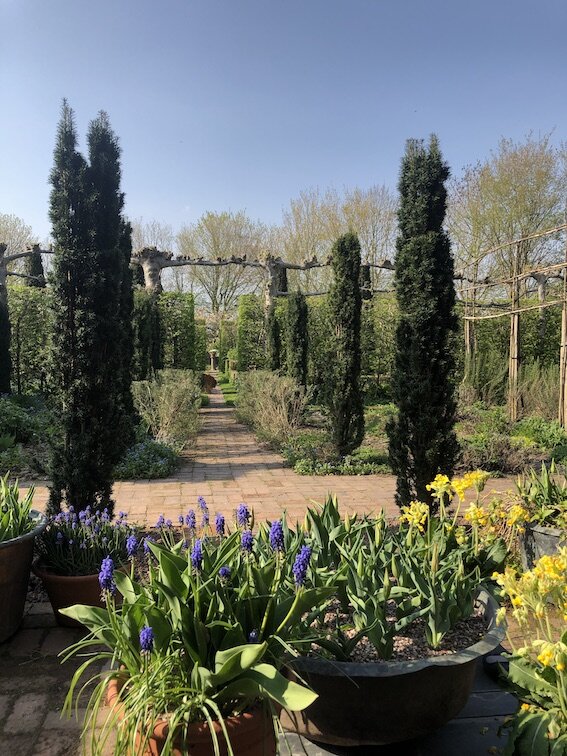
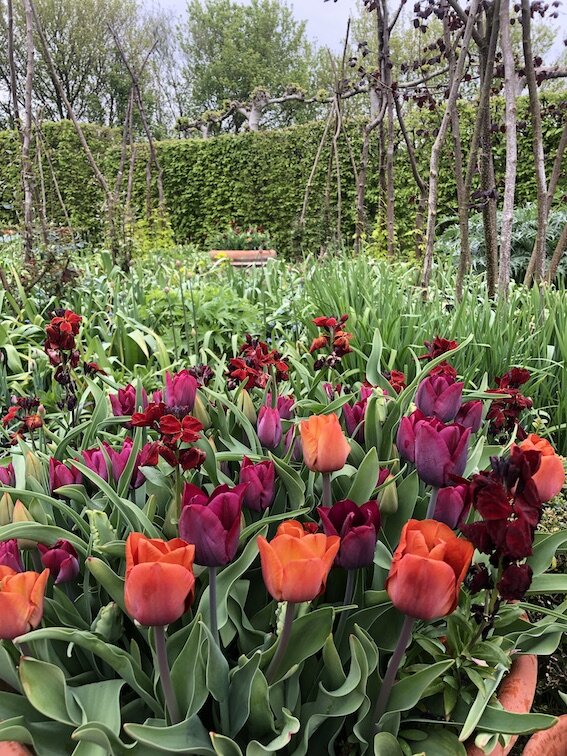
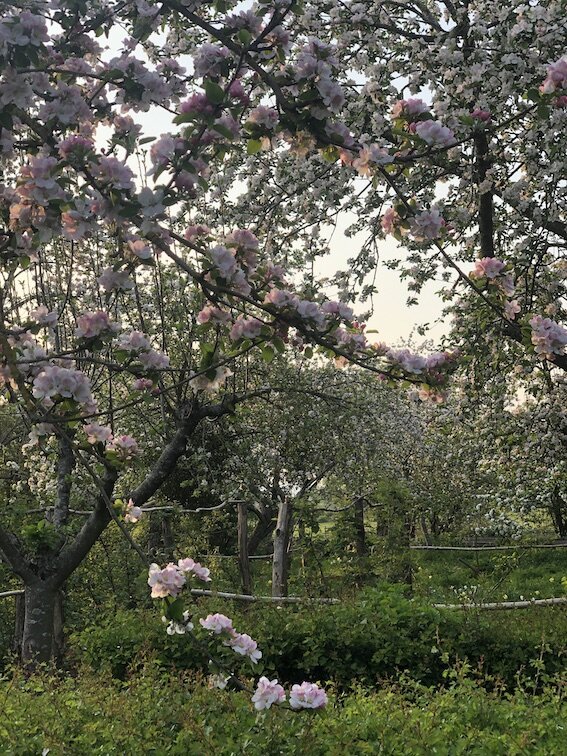
In my lifetime spring has shifted its best moments from the first weeks of May to April. That intoxicating mix of delivery and promise that comes with the blossom, tulips and electric green of the emerging foliage sings through the month like a heavenly chorus. Climate change might have shifted the seasons and pose the greatest challenge that humanity has ever known - but it has not really changed the local, day to day weather and April can still be frosty and cold. But the soil is warming up and it is a very good time to drop in flowering plants to fill gaps in this seasons planting.
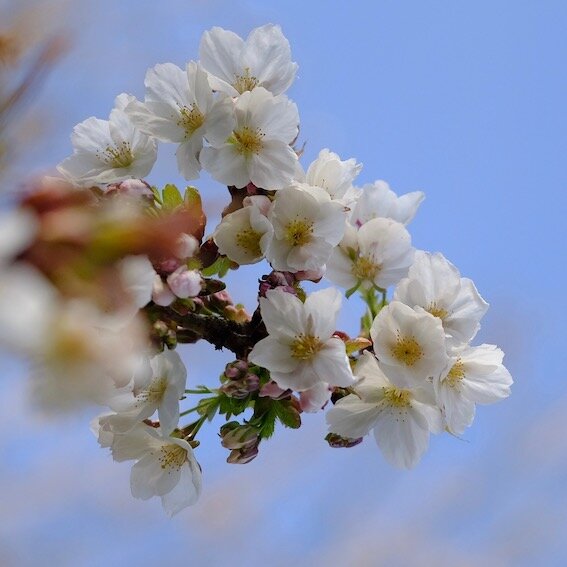
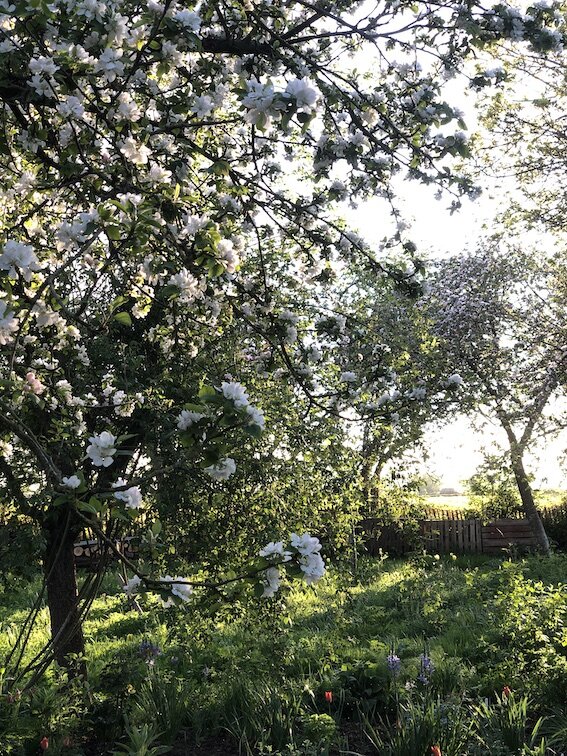
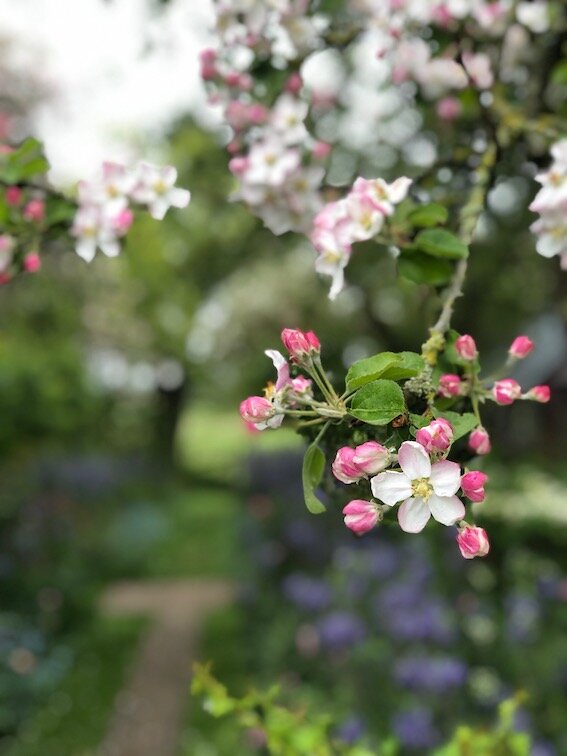
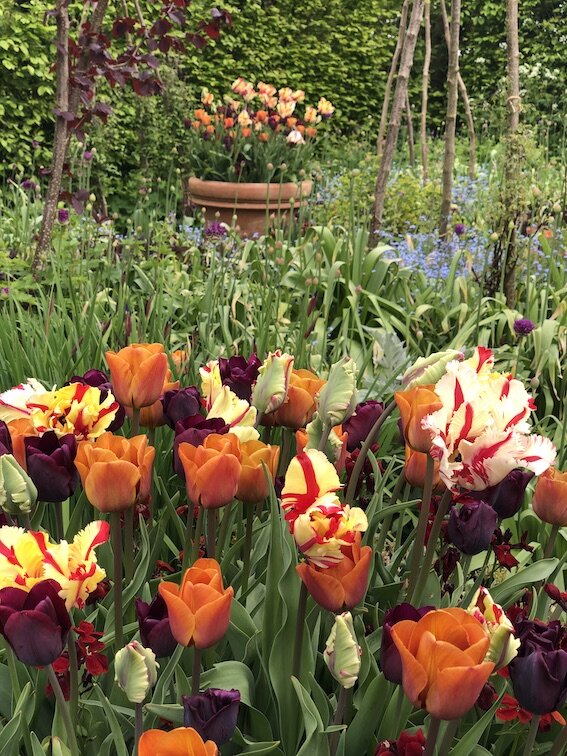
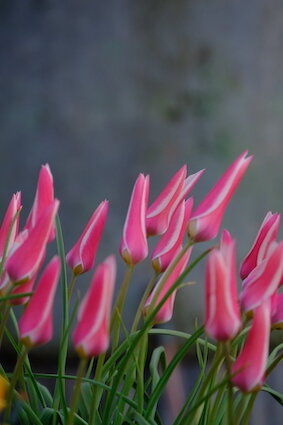
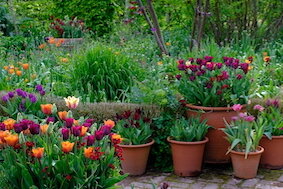
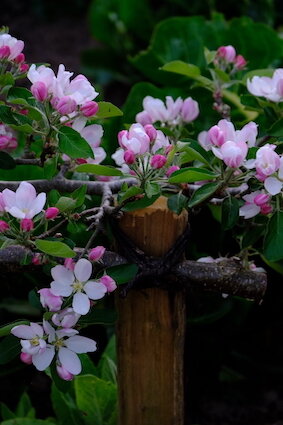
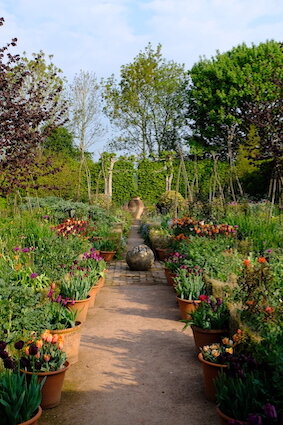
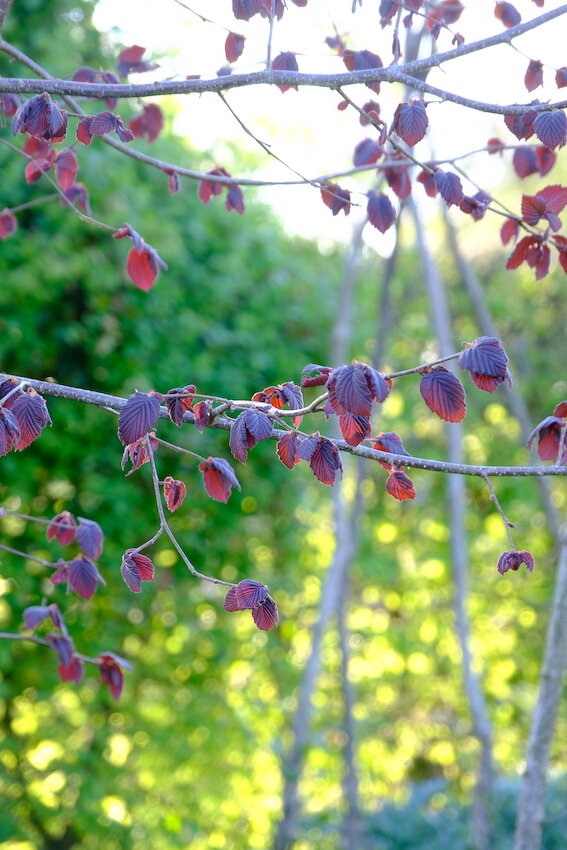
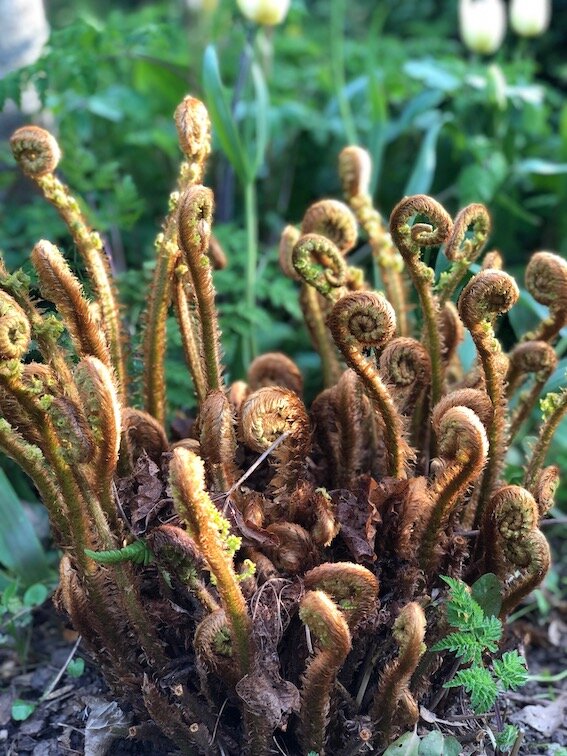
This is the best month of the year for blossom and tulips are at their peak. Almost all the leaves on trees, shrubs and hedges unfurl and open with an incredible freshness and energy and the new growth on herbaceous plants is almost visible as you watch them.
There is still more to come of course but perhaps that is why I love it so much. It delivers all you might possibly desire along with the absolute certainty of even better to follow.
JOBS TO DO THIS MONTH
The important thing is to get on top of things. So cut the grass, weed as much as possible, get perennial plants in the ground, finish mulching, sow some seeds - but in a manageable, enjoyable way. Keep it simple. There is still time to spare. And if there are jobs that you ‘ought’ to have done much earlier there are two sensible approaches. Either do them right now, a bit later than you should, or leave them till next winter. But having made the decision, act!
MOWING
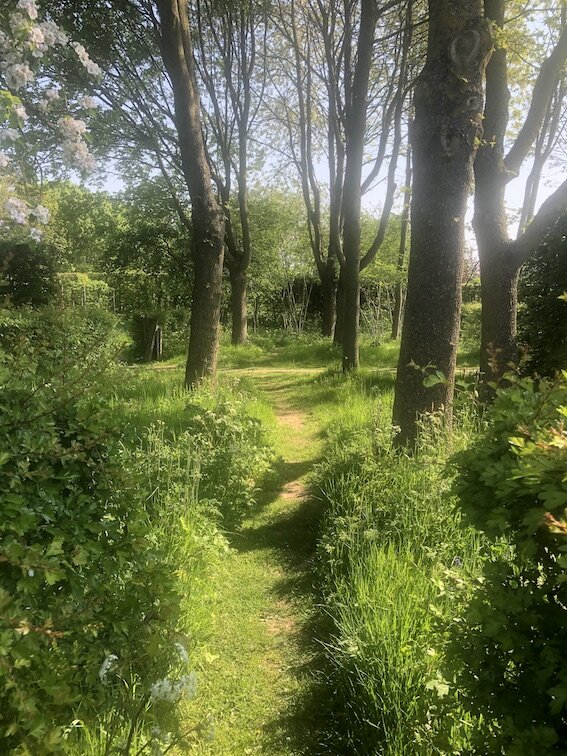
I am all for mowing as little as possible. That will mean different things to different people but long grass is one of the best environments for a huge diversity of wildlife in the garden, and long grass with flowers from bulbs, perennials and annuals is as beautiful as anything else you might grow. Everybody is happy except perhaps the those that see tidiness as the prime aim of gardening and children wanting somewhere to play. To satisfy the clatter - very important - it is good to have a patch of mown grass where not only they can play but everyone can lounge and sprawl and enjoy the short grass between their toes. But try and restrict the mowing as much as possible. In our garden we have reduced it right down to mown paths in the long grass.
Whatever your grass-cutting inclinations, resist the temptation to scalp your grass down to its midsummer height. Set the blades high and just trim the grass for the first few weeks as much to even it out as to reduce it. Then, as the weather gets warmer and the grass starts to grow more strongly, gradually reduce the height over a few weeks but always keeping it slightly on the long side. This will result in a much healthier, greener sward.
Add all clippings to the compost heap but mix it well with dry, brown material like straw or cardboard which will stop it becoming a wet, green sludge.
PLANT OUT SWEET PEAS
The time to plant out sweet peas into the garden is mid April in the south and towards the end of the month further north.
Sweet peas grow best in rich soil with plenty of moisture and in cool - but not cold - conditions, so the more you can enrich the soil with lots of compost or manure before planting, the better they will grow. I like to grow mine up bean sticks arranged as a wigwam but any support will do from bamboo canes to chicken wire.
I plant two or three plants to each stick or support and water them in very well before mulching them thickly to keep them weed-free and to stop them drying out.
One word of caution. The aim is to grow strong, healthy individual plants so if you buy a pot with lots of seedlings I think it better to divide each pot into two or three. Then plant these sections at the base of each support so they have less competition and you should end up with more flowers.
PLANT NEW POTATOES
Whilst there is no rush to plant maincrop potatoes (I have planted as late as June and still had a good crop) the sooner you can plant seed for first earlies the sooner you can enjoy that delicious harvest that always tastes so much better than any that you can buy.
Make a V-shaped trench 6-9 inches deep and place the seed potatoes about 12 inches apart along the bottom of it. Backfill the trench so that the soil forms a ridge along the length of it. Leave at least 3ft between rows to allow for earthing up - digging more soil onto emerging foliage to protect them from late frosts. I also grow them in a raised bed simply pushing each seed potato in a 6 inch deep hole made with a dibber with each plant about 18 inches apart in a grid. However you plant them, always enrich soil for potatoes with plenty of well-rotted manure or compost.
TIDYING BULBS
Although you should resist any temptation to cut back, tie up or ‘tidy up’ the foliage of any bulbs that have finished flowering as this will decrease the quality of flowering next spring, you can lift the bulbs, foliage, bulb and roots and pot them into a container which can then be put to one (sunny) side to die back and feed next year’s bulb without leaving an unsightly mass of dying foliage in a prime position for the next few months.
When the foliage has died back the bulbs can be stored in the pot, making sure they do not become too wet (they can dry out completely) and then replanted in autumn.
DEAD HEAD AZALEAS AND RHODODENDRONS
This is a very simple job but one which is often overlooked. To extend the rhododendron and Azalea season and ensure that the plant does not waste its energies into seed production, dead head as many faded flowers as you can. This is particularly relevant to the large-flowered varieties.
Do not use secateurs as you risk injuring the fragile buds growing at the base of the flowers but gather the flower trusses between finger and thumb and snap them off.
Removing the withered flowers also reduces the risk of fungal infections and will increase next year’s flowering display. As well as doing the plant good it also removes unsightly dead flowers that can hang onto the shrub for days or even weeks.
HARDEN OFF TENDER PLANTS
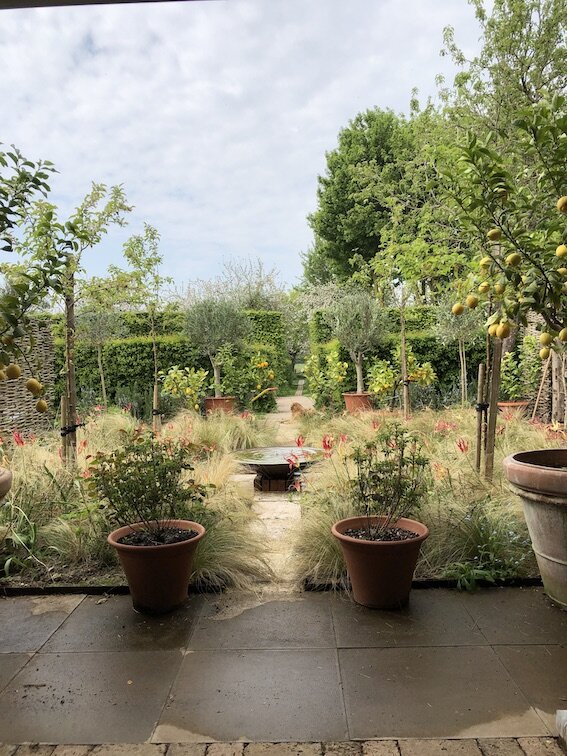
Although there is still a risk of frost in my garden - and especially so the further north you go - it is time to start bringing tender plants such as Fuchsias, citrus, brugmansias, bananas, agapanthus or Cannas outside so that they can gradually acclimatise before being planted out into a border or pot.
It is not so much the absolute temperature as the variations between night and day that they must become used to. Put them outside in a sunny but sheltered spot and have some horticultural fleece to hand to cover them if their is a cold night, but let them get used to the changes in temperature and exposure to wind and rain that they have not had to face over the past few months for at least a week - and preferably two - before moving them to their final position after the risk of any frost has passed.
PLANTING LILIES IN POTS
Plant lilies in pots for one of the best and most fragrant of summer displays. Most lilies like an ericaceous soil but Madonna Lilies, which are one of the first to flower, prefers an alkaline soil and will return year after year given the right conditions.
But you will not go wrong if you provide good drainage and a nice, loose compost. I achieve this by mixing in plenty of leafmould and grit into a bark-based general purpose compost but just adding perlite or vermiculite will help greatly. Plant the scaly bulbs with about 4 inches of compost above the crown and put them somewhere lightly shaded to grow. Keep them well watered and move them to their final position when the buds develop in May and June. In general lilies like shady roots and sunny flowers so a west or east facing sheltered spot is ideal for their flowering performance.
SUPPORT HERBACEOUS PLANTS
The purpose of plant supports is to prevent any damage rather than to repair it , so the correct time to support any plant is before it needs to be done. The best way to do this in a border is to establish a system of supports that you put into place just as the herbaceous plants are starting to grow strongly, so that within a few weeks the supports will be hidden but quietly doing their work with the tender but vigorous new growth contained within their gentle, protective embrace.
I use a mixture of home-made metal supports, pea sticks (essentially bushy prunings from the garden) and canes with twine. Whatever you choose try and anticipate the growth and make the support adjustable or flexible to adapt a little. If you can make it decorative so much the better. But getting it into place now e will avoid trying to rescue damaged plants in a month or two’s time.
SEED SOWING
We should do everything we can to reduce the amount of plastic in our gardens. The first stage in that process is to reuse any plastic seed trays and pots that you have - and to look after them so I can continue to use them for as long as possible and not replace them.
The easiest way to do this is to return to a method that our parents and grandparents always used for any hardy seeds, which is to make a seed bed.
This is a dedicated piece of ground that can be just a couple of metres square or less in which seeds can be sown in short, closely spaced rows before transplanting the seedlings to their proper and final positions.
It requires no materials, no bought in compost, less watering and minimal preparation. It also is likely to produce healthier plants because from the word go the emerging seedlings form a relationship with the microbes in the soil on which almost all their health depends.
When they are large enough to handle and move you simply lift a clump with a trowel and transplant them with plenty of soil attached to their roots, water them in well and they will scarcely notice the relocation.
Cultivate it until you have a fine tilth and can pick up a handful and run it through your fingers. Then rake it smooth and sow in short rows, labelling them clearly.
SLUGS & SNAILS
Slugs and snails are widely regarded as the gardeners public enemy number 1, but they are superb at recycling waste vegetative matter but do not discriminate between a fallen leaf and a delicious young seedling.
Slugs live largely under ground in the soil and like damp conditions. Snails live above ground and love dark nooks and crannies such as old brickwork or a nice dry yew hedge, as well as clustering around the base of containers.
Although there are over 30 species of slug in the UK, there are 4 main garden ones and the biggest do not necessarily do the most damage. What you see is actually a tiny percentage of the population and slug activity and densities of over 250,000 per acre are common.
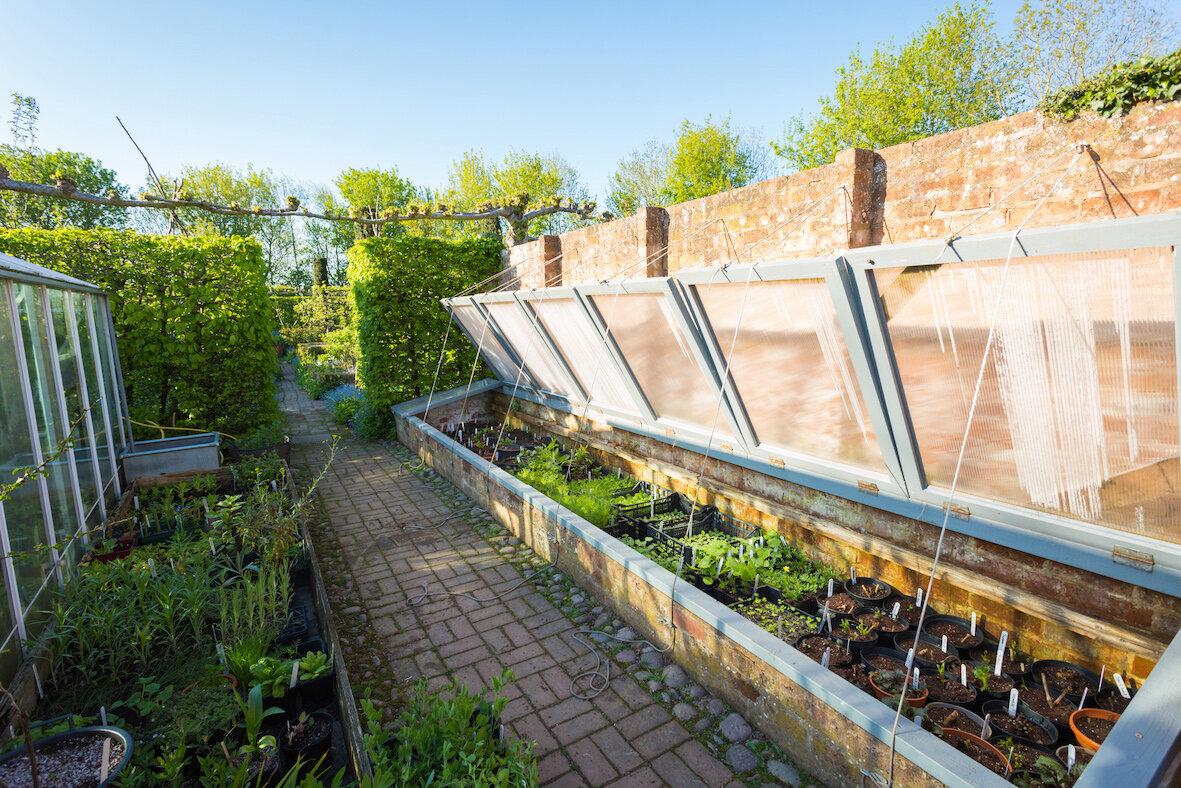
So what can the gardener do? Avoid slug pellets are any chemicals that can harm other wildlife. Instead have a small slug-free cold frame or table where you can raise tender young plants check for slugs daily.
Do not feed plants any more than is absolutely necessary and always feed the soil not the plant. This will avoid a spurt of soft, sappy growth that slugs love. Without stressing them with sudden temperature or cultivation changes, grow your plants as ‘hard’ as possible which means do not mollycoddle them .
Finally, encourage a wide range of predators. I have masses of thrushes, frogs, toads, beetles, centipedes, shrews, and a few hedgehogs - all of which love eating slugs and snails. This needs plenty of cover, an avoidance of toxic chemicals - such as slug pellets - and a degree of tolerance for collateral damage.
KEEP FEEDING BIRDS
Most birds will be nesting and laying eggs and hatching young over the course of the month. Keep putting out food if you have any - flakes of cheese and breadcrumbs are good if you do not have access to conventional bird food.
THE EDIBLE GARDEN
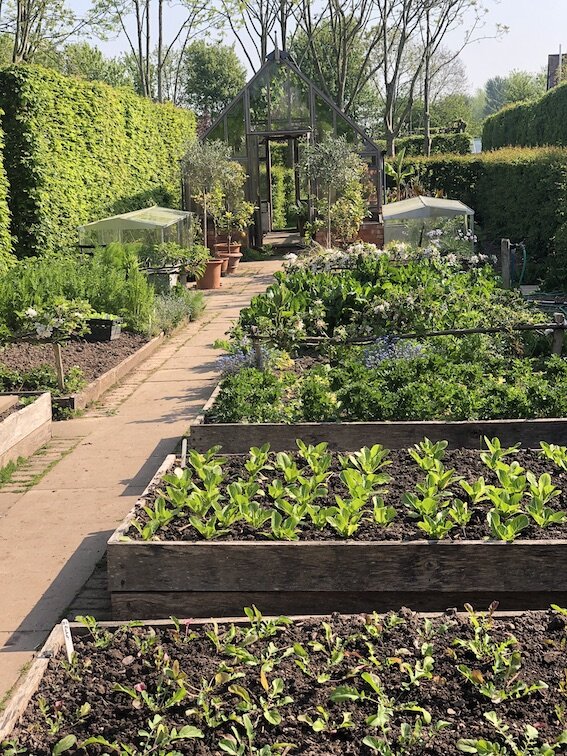
I love the huge variety of vegetables that my garden can provide but nothing tops a simple salad of fresh leaves eaten minutes from gathering it from the garden. There is a crisp freshness to it that is the perfect combination of culinary pleasure and health. Add an omelette and good bread and butter and you have a meal fit for a king.
Those leaves can come from a wide range of plants - baby kale, spinach, rocket, mizuna, mibuna, young chard leaves, chicory, pea tips, raw broad beans - and that is before you start on all the other vegetables that are usually cooked but also delicious eaten raw as part of a salad. You can make a salad from all kinds of things but if you only have lettuce then you always have a salad.
This is the ideal time to sow lettuce seed direct into the soil outside as the soil is now warm and they will grow fast - which is one of the secrets of really good lettuce.
Lettuce needs cool temperatures to germinate, and may become dormant if the soil is above 20 degrees. They like a rich soil with good drainage.
There are many different kinds of lettuce and scores of varieties within each of those types (see panel) but the secret - as with edible plants of any kind - is to find out what you like to eat and what can easily grow in your plot and then make the most of these. The line of least resistance always makes most sense.
LETTUCE
It is also one of the easiest of all plants grow and freshly harvested, home grown lettuce always tastes wonderful.
Most lettuce take about 6 to 8 weeks to grow sufficiently large to eat and will be good for another month or so if kept watered and cool. Lettuces grow best in mild, moist conditions so a hot, dry summer is as big a problem as a cold winter. However many lettuces are happy in some shade as this will keep them cooler. To avoid a glut or, worse, your lettuce all running to seed at once in very hot weather, the secret is to have good succession - which essentially means maintaining a small but constant supply of plants rather than one big harvest. To do this sow some new seed every 3 or 4 weeks and as one batch goes over another will be ready to eat with a third growing on as young seedlings.
A a few seeds sown thinly will provide healthier, leafier lettuces than a mass of thick seedlings. As they appear, weed and thin carefully to a final spacing of at least 4 inches. If you have a greenhouse it is best to sow into plugs and plant out the seedlings when they are growing strongly as this means you cannot protect the delicate seedlings from slug attack.
You can broadcast cut-and-come-again varieties like Oak Leaf or Salad Bowl that are harvested by cutting or picking the leaves of a number of plants that then regrow for another harvest, but Cos or Butterhead varieties should be grown well spaced in rows so that they can be kept weed free and harvested individually.
LETTUCE VARIETIES
I would recommend that every gardener experiments with different varieties until they find the ones that they like but also to grow three or four different types and varieties at any one time throughout the year.
The most old fashioned and familiar variety to many people is the Butterhead which are the one with rosettes of soft , cabbage-like leaves. They grow well in cold weather so can provide fresh leaves in winter, and butterheads like a good ‘Tom Thumb’, Is my favourite butterhead variety. It is very small and you need one per person but they are easy to grow and have excellent taste and texture. ‘All the Year Round’ is, as the name implies, hardy and adaptable enough to crop most of the year. Butterheads store badly so should be cut and eaten on the same day.
I think a goodCos lettuce is best of all. ‘Little Gem’ will do well from an early sowing and certainly is always worth finding room for in the garden. ‘Paris Island’ is bigger but rather slower to develop but a superb summer lettuce. However All Cos bolt quickly in hot dry weather.
Iceberg lettuce have a watery crispness and ‘Webb’s Wonderful’ is the best known crisphead, and like all icebergs, has the great virtue of being slow to bolt.
I grow red and green Oak-leaf or salad bowl varieties (they come with various proprietary names). ‘Red Salad Bowl’ tastes great and looks fantastic. Red lettuce grow slower than green ones and tend to be a little bitter - which I like. They are also less likely to be eaten by slugs than green leaves.
ROCKET
Rocket, eruca sativa, is an essential leaf to grow. Unlike lettuce it is only really viable in Spring and autumn as it quickly bolts in warm weather and is not fully hardy but extremely easy and quick to grow in its season.
After radish- to which it is related, both being members of the brassica family - it is the easiest of all seeds to germinate. Rocket seeds are biggish and reasonably easy to handle so I now sprinkle two or three per plug, wait until at least two germinate successfully and then ruthlessly thin down to one healthy seedling. These can then be grown on and hardened off until they are about two or three inches tall before planting out at 6 inch spacing. You can easily sow them direct but they will still need fierce thinning as widely spaced plants are much healthier, give a bigger harvest and last longer.
Rocket does not like very hot weather and needs rich soil with plenty of water to be at its best. A damp Spring and cool autumn suit it admirably. By the middle of May the plants are starting to bolt and flower, growing a thick hairy stem with fewer and much hotter leaves. The flowers are perfectly edible and the summer seeds provide all of next year’s crop.
Sow more seeds in early August for harvest from early September and right through autumn.
GROWING SALAD LEAVES IN CONTAINERS
Some crops are better suited to containers than others. Salad crops of all kinds, including lettuce, radish and rocket are ideal. Containers are best suited to cut-and-come-again crops like saladesi and saladini, of using crops like rocket, oak-leaf lettuces, spinach and corn salad which can all be harvested by the leaf and which will all regrow to provide second or even third cuttings. Accept that you have limited space and concentrate on growing healthy, strong plants even though it can seem very harsh to thin out perfectly good seedlings as they emerge. A few healthy plants will always give a better harvest than masses of small, weedy ones,
Whatever you use must have good drainage. If you have your pots on a roof or balcony they will have to be stood on a tray of sorts, to collect the drips, but make sure that the pot itself is not standing in the water as this will negate the effects of the drainage. Raise it up on chocks of some kind.
HOUSEPLANTS
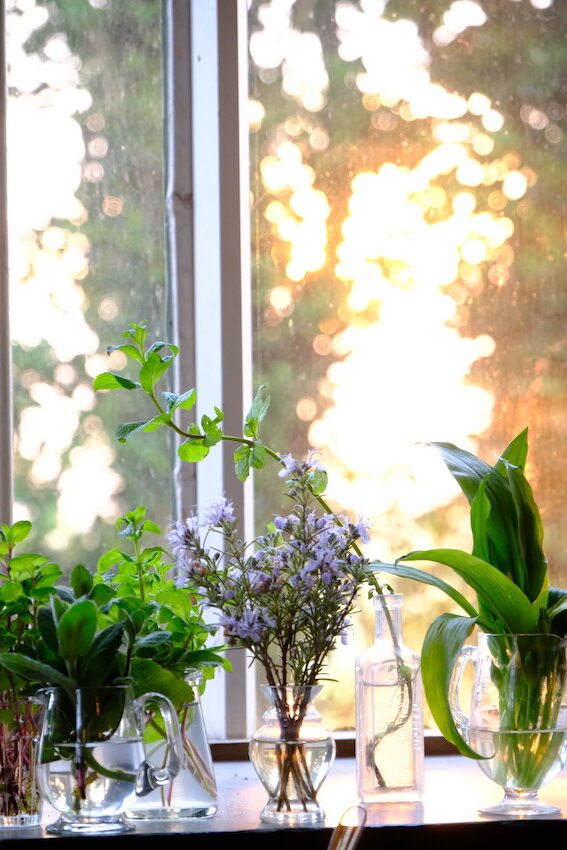
There are, of course, a huge range of plants that can and are grown permanently indoors with a wide range of conditions best suited to them but by and large the biggest mistake people make with their houseplants is to overwater them. In fact that can be qualified - or refined - by saying most are overwatered at the roots but under-watered in the air. A coolish spot, out of direct sunlight is likely to be more congenial for all evergreen plants from tropical regions (but not desert cacti and succulents) than a south-facing window sill above a radiator. Only water when the potting compost is totally dry and then it is better to soak them in a basin for 15 minutes, draining them completely before returning the pot to its position. However the single most useful thing is to get hold of a really good mist sprayer holding at least a litre of water and with a trigger action. Use this twice a day to give your plants a really good spray so the foliage is running with moisture.
However this does mean placing them where very humid air is not going to damage furnishings or surfaces - which is why a bathroom or kitchen is likely to be more suitable than a living room.

